
The Most Common Reverse Lunge Mistakes (and How to Fix Them)
Identify the 6 most common reverse lunge mistakes, why they happen, what they cost, and one clear fix per error. Practical, evidence-aware technique coaching.
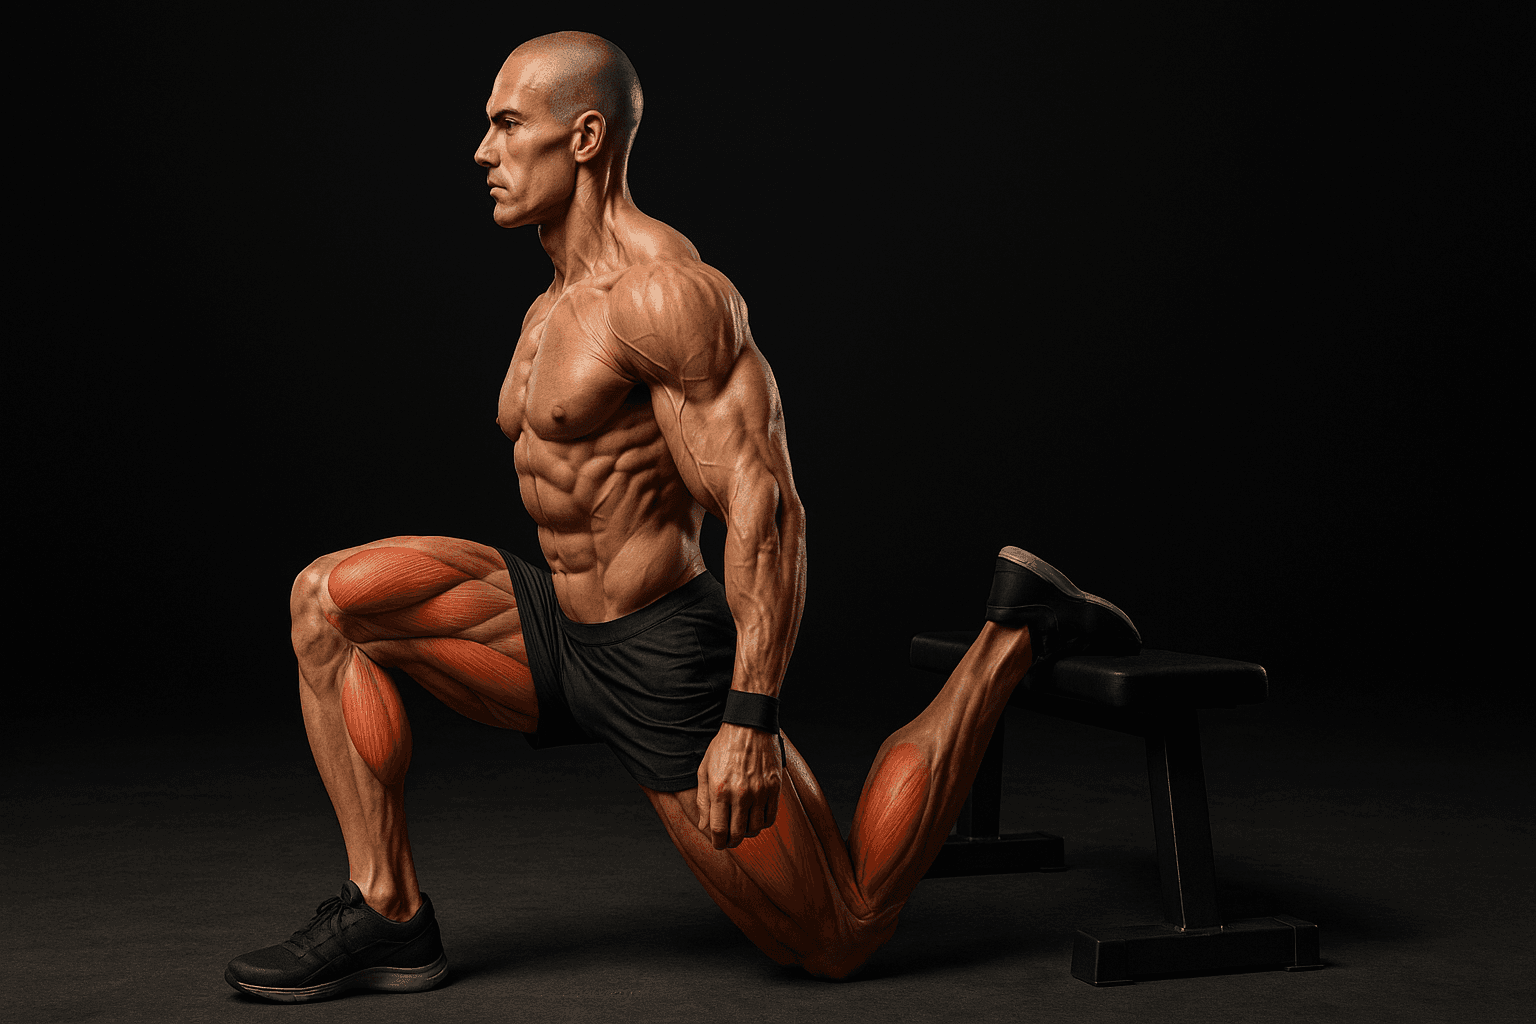
Photo by RepBro.
A direct answer
A correct reverse lunge requires a long enough step, a tall torso, controlled descent, knees that track over toes, and primary loading through the front leg. Common errors remove the intended hip and quad stimulus and increase injury risk; each has a simple, practiceable fix.
What are the 6 most common reverse lunge mistakes and why do they happen?
Below are the most frequent technical errors I see, why they occur, what they cost in training or injury risk, and one concrete fix you can apply immediately.
- Taking too short a step
Why it happens: People shorten the step to feel stable or because of limited hip extension and ankle mobility. It often looks like the front shin is very vertical and the knee drifts over the toes.
What it costs: A short step shifts work toward the knee and reduces hip extension range of motion, lowering glute and hamstring demand and limiting strength transfer to walking and running patterns. It can also increase peak patellofemoral stress in some positions.
One fix: Increase step length until the front thigh reaches near-parallel at the bottom and you feel the load in the front glute and quad. Practice with bodyweight, mark a spot to step to, and progress only when balance and control are maintained.
- Collapsing or leaning the torso forward
Why it happens: Weak core/bracing or trying to use momentum to stand up. Fatigue and heavy loading magnify the tendency to fold at the hips.
What it costs: Torso collapse reduces glute engagement, increases shear on the lumbar spine, and reduces the usefulness of the exercise for hip-extension strength.
One fix: Brace the core before each rep, imagine a vertical line from sternum to hips, and keep the chest up. Cue a slight hip hinge while maintaining an upright torso rather than folding the spine. Use lighter load until you can maintain posture for all reps.
- Knee collapsing inward (valgus)
Why it happens: Weak hip abductors/external rotators, poor foot stability, or incorrect cueing during the step.
What it costs: Repeated valgus under load increases medial knee stress and is associated with inefficient force transfer, limiting strength and hypertrophy outcomes.
One fix: Cue the front knee to track in line with the second toe. Use a light resistance band above the knees for 2-4 weeks to promote hip external rotation and abduction. Also work targeted glute med strengthening separately.
- Dropping the back foot to assist the movement
Why it happens: Many lifters press through the rear foot to help stand, turning the reverse lunge into a split squat or assisted movement. This is common when the rear foot is planted or when trying to finish reps quickly.
What it costs: Using the rear leg reduces load on the working (front) leg, limiting strength and hypertrophy stimulus, and blurs exercise intent.
One fix: Keep weight biased through the front heel and midfoot. Practice strict single-leg eccentric control where the rear foot only provides balance, not power. If the rear foot keeps contributing, reduce weight until the front leg does the work.
- Rushing the descent and ascent
Why it happens: Time under tension is undervalued, or cardio fatigue leads to momentum-driven reps.
What it costs: Fast, uncontrolled reps reduce eccentric control, decrease muscle damage stimulus beneficial for growth, and increase balance errors and injury risk.
One fix: Use a 2-3 second controlled descent, a brief pause at the bottom, then a deliberate drive up. Tempo training helps you feel the working muscles and improves stability.
- Feet too narrow or misaligned stagger width
Why it happens: Copying someone else or setting feet by feel without checking alignment. Too-narrow stances reduce stability and can cause knee tracking problems.
What it costs: Narrow stagger width forces compensations in the hip and torso, reduces force production, and increases fall risk when load increases.
One fix: Experiment with stance width. A good starting point is a step that places the front foot under the hip with the rear foot staggered far enough to allow a full, controlled descent without crowding. If balance is an issue, widen the stance slightly and practice without weight first.
How does step length change the stimulus?
| Short step | Long step |
|---|---|
| Easier balance, more knee-dominant, less hip extension | Greater hip extension, more glute and hamstring demand, higher balance challenge |
Use short steps for warm-up or rehab when necessary, and long steps when the goal is hip-dominant strength and carryover to running or sprinting.
What immediate cues help most lifters fix multiple issues at once?
- Think front heel drive and chest tall. That addresses weight distribution and torso posture.
- Step to a marked spot and control the descent. That enforces step length and tempo.
- Use a band above knees for a few sets to prevent valgus.
Practice these with bodyweight, then add load gradually while keeping form.
Safety note
Stop if you feel sharp joint pain. This article gives technique cues, not diagnoses. If you have preexisting knee, hip, or back issues, consult a qualified clinician or coach before progressing. No article or app can replace hands-on assessment for injury management.
What limitations should you expect from apps or AI coaching?
- Apps and AI cannot see subtle movement compensations in 3D; video review by a coach is more reliable.
- They cannot diagnose tissue pathology; persistent pain needs a medical or physiotherapy evaluation.
- Programs only work if you train consistently and recover adequately; no app replaces adherence and progressive overload.
If you want to record and compare reps to monitor consistency, try using a form-tracking app like RepBro to store videos and notes.
Quick practice drill you can do today
Set a chair behind you at a distance that allows a full, controlled reverse lunge without touching. Step back to that point and perform 6 slow reps per leg emphasizing a 2-second descent, chest tall, and front foot drive. Note whether your knee tracks over toes and adjust step length as needed.
Limit your first session to low volume and focus on quality. Gradually increase sets or load once the pattern is consistent.
Limitations
This article emphasizes common technical corrections but does not replace a personalized assessment. For pain, persistent asymmetry, or post-injury return to sport, seek a qualified professional. Consistency and progressive overload are required for strength and hypertrophy; neither apps nor articles create results without training adherence.
Frequently asked questions
- How deep should a reverse lunge be?
- A reverse lunge should descend until the front thigh is roughly parallel to the floor or limited by comfortable knee pain-free range. Depth depends on ankle and hip mobility; stop before sharp pain. Controlled eccentric descent and upright trunk are more important than forcing extra depth.
- How often should I include reverse lunges in my program?
- Include reverse lunges 1-3 times per week as part of a lower-body routine, adjusting volume based on recovery and overall program load. They complement bilateral lifts; vary sets and reps for strength or hypertrophy and prioritize progressive overload and consistency.
- Are reverse lunges better than forward lunges?
- Reverse lunges tend to be easier on the knee and allow greater stability and glute emphasis for many lifters, while forward lunges can demand more ankle dorsiflexion and balance. Choice depends on goals, mobility, and comfort; both have valid roles in training.


