
Suitcase Carry: Proper Form, Step by Step
How to perform the suitcase carry with correct setup, cues, breathing, tempo, progressions, and common mistakes. Safety-first, evidence-aware guidance for lifters.
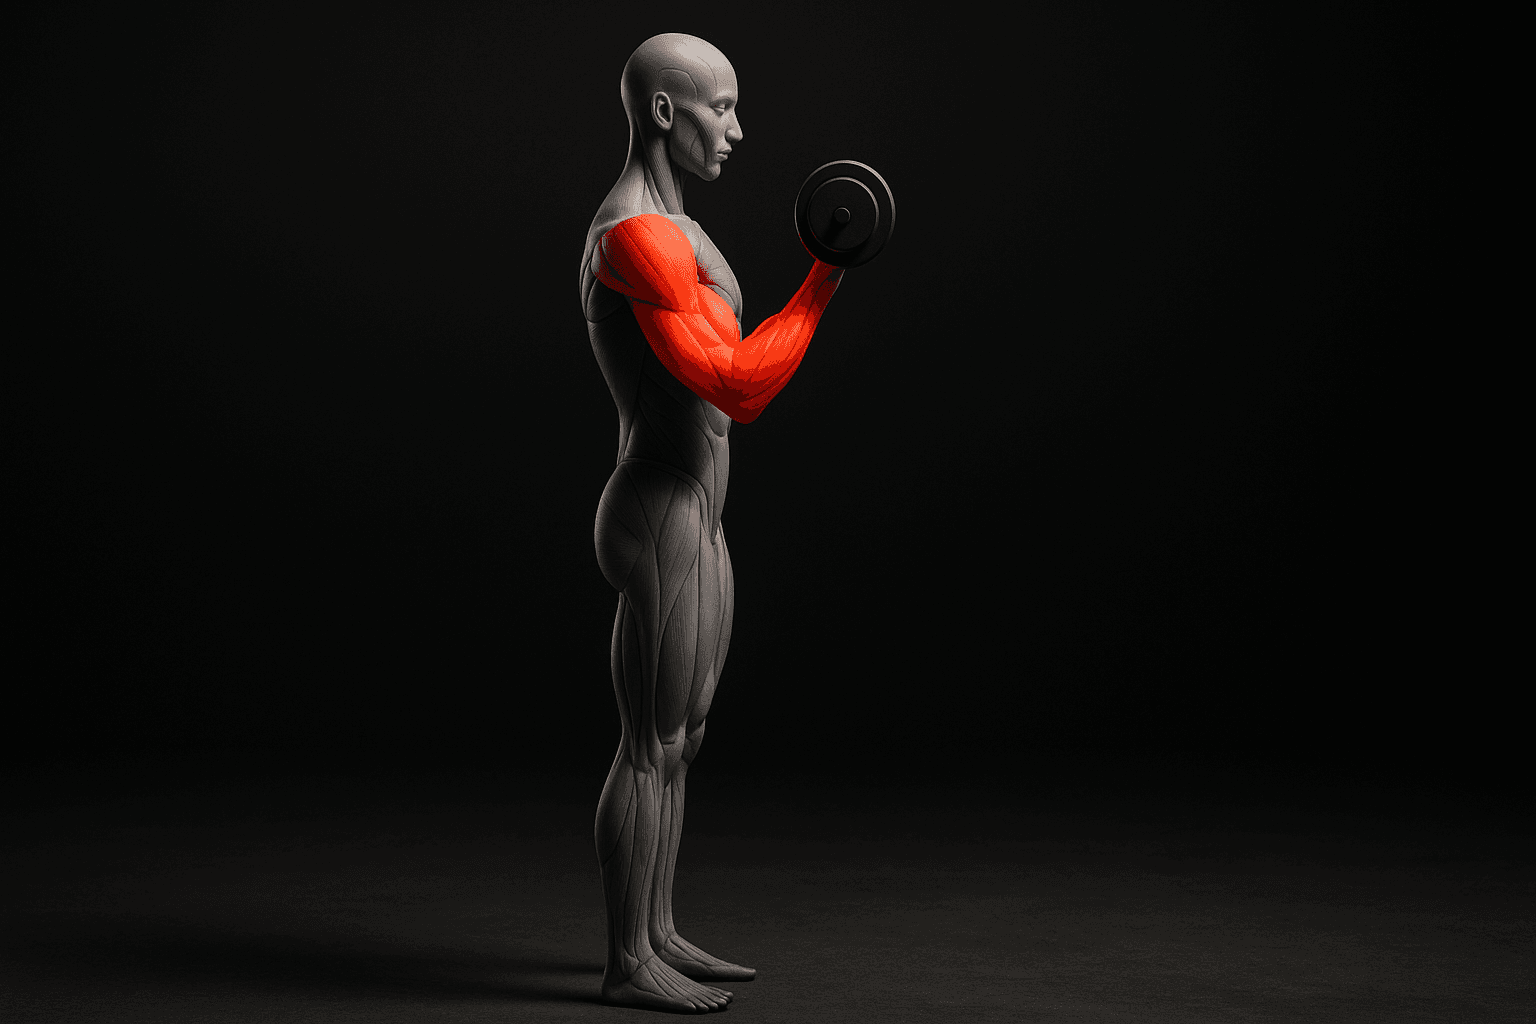
Photo by RepBro.
Answer-first: The suitcase carry is a unilateral loaded walk performed with weight in one hand to train anti-lateral-flexion, grip, and core stability. Use a weight that challenges posture for 20–60 seconds, maintain an upright trunk and breathing pattern, and progress by load, time, or distance.
What is the suitcase carry and which muscles does it target?
The suitcase carry is a one-sided loaded walk (dumbbell, kettlebell, or plate) where you hold the implement at your side and walk a deliberate distance or time. Primary demands are on the obliques, quadratus lumborum, erector spinae, hip abductors, grip, and contralateral shoulder stabilizers. It’s a core anti-lateral-flexion exercise rather than a trunk flexion exercise.
How should I set up the suitcase carry? (equipment, load, stance)
- Equipment: dumbbell, kettlebell, trap bar (single-side loading), farmer’s handle variation, or loaded plate. Use what allows a secure grip.
- Load: choose a weight that lets you hold posture for the desired duration (20–60 seconds typical). Beginners should start conservatively and prioritize form.
- Stance: stand tall with feet hip-width (about 25–30 cm / 10–12 in), shoulders relaxed, chest neutral. Hold the weight beside the leg, thumb pointing backward or neutral depending on implement.
What are the step-by-step execution cues, breathing, and tempo?
- Setup: Place the weight at your side. Stand so the load hangs close to your thigh. Reset posture: ribs down, neutral spine, glutes engaged. Brace as if about to be punched in the stomach.
- Initiate: Take one step forward with the opposite foot (the unloaded side) to create a balanced walking base. Keep steps controlled—about normal walking length.
- Carry: Walk straight, keeping hips level and resisting lateral tilt toward the load. Think of lengthening the spine rather than leaning away. Keep the shoulders down and back—do not shrug.
- Breathing: Inhale and build an abdominal brace before starting. Continue controlled breaths while walking—short, firm exhales or rhythmic inhalation/exhalation while maintaining brace is fine. Avoid holding breath for long sets; this helps maintain intra-abdominal pressure safely.
- Finish: After the target distance/time, stop, set the weight down with control, and recheck posture.
Tempo: walk at a steady, controlled pace—about the cadence of a normal walk. Avoid sprinting; the goal is sustained anti-lateral-flexion, not speed.
Execution cues:
- “Rib cage down, brace like a belt.”
- “Keep hips level—imagine a glass of water on your waistline.”
- “Grip hard, but don’t shrug.”
- “Step with the opposite foot first to stabilize.”
How many sets, reps, frequency, and how should I progress?
General recommendations consistent with strength and conditioning practice:
- Frequency: 1–3 times per week depending on program goals and overall load.
- Volume: 2–5 sets per session.
- Duration/distance: 20–60 seconds per carry or 15–50 m (50–165 ft) per set; choose a range that matches your conditioning and goals.
- Progression: increase load in small increments, or increase time/distance per set. Also consider increasing the number of sets. Alternate progression tools rather than all at once to manage fatigue.
- Deloads: include lower-volume or lower-intensity weeks periodically (for example after several weeks of accumulation) to manage fatigue.
These are general guidelines—tailor them to your program. Monitor recovery and performance; if technique degrades, reduce load or volume.
What are common mistakes and how do I fix them?
- Mistake: Leaning away from the load (hip hike or trunk lateral flexion). Fix: Reduce weight, cue “lengthen the spine,” and focus on short distances with an upright posture.
- Mistake: Shrugging the loaded shoulder. Fix: Depress and retract the shoulder before walking; strengthen grip and scapular control with unloaded drills.
- Mistake: Holding breath for long durations. Fix: Practice bracing with rhythmic breathing; take short, controlled breaths to maintain intra-abdominal pressure.
- Mistake: Taking uneven or overly long steps that destabilize hips. Fix: Use a normal walking stride; practice shorter carries to groove motor patterns.
- Mistake: Using incorrect footwear or slippery surfaces. Fix: wear flat, stable shoes and choose a level surface.
How does the suitcase carry compare to farmer’s carries or single-arm rack carries?
| Carry | Load position | Primary demand | When to prefer |
|---|---|---|---|
| Suitcase carry | One hand at side | Anti-lateral-flexion, grip, unilateral core | Improve hip and oblique resilience; accessory for unilateral control |
| Farmer’s carry | Both hands at sides | Grip, posture, total-body load carriage | General strength and conditioning; higher absolute load |
| Single-arm rack carry | Loaded in front rack | Anti-flexion and anti-rotation, core front-bar demand | Transfer to overhead/lift carry patterns; loaded front rack comfort |
Choose based on the specific trunk demand you need to train. Suitcase carries emphasize resisting side bend with asymmetric load.
What safety precautions should I follow?
Stop immediately on sharp or worsening pain. If you experience persistent discomfort—especially in the spine, hip, or shoulder—consult a qualified health or movement professional. Do not use this article to diagnose or treat injuries. Use conservative loads initially, and prioritize posture and breathing over load.
What can training apps or AI not do for my suitcase carry? (Limitations)
Apps and AI can provide cues, timers, and progressions, but they cannot see you in person to identify subtle movement faults, assess pain sources, or modify a program based on complex clinical context. Only a qualified coach or clinician can perform hands-on assessments, manual corrections, or make medical diagnoses. Consistency and real-world feedback from a human coach are essential for long-term progress.
Quick practice template (example)
- Warm-up: 5–10 minutes of general movement + unloaded carries and hip mobility.
- Main: 3 sets of suitcase carry, 30 seconds each, rest 60–90 seconds between sets. Use a load that challenges but allows upright posture.
- Progression: add 1–2 sets, increase time by 5–10 seconds, or add small load increments when you can complete 3–5 sessions at the same prescription without technique loss.
Limitations: This guide provides evidence-aware coaching cues and general programming guidance. It does not replace individualized assessment, hands-on coaching, or medical advice. If you have pain, medical conditions, or complex training needs, consult a qualified professional before progressing.
Safety note: Stop on sharp pain. If you have persistent or worsening symptoms, seek a licensed clinician. This article offers coaching information — not diagnosis or a treatment plan.
Frequently asked questions
- How heavy should my suitcase carry be?
- Choose a load that lets you walk 20–60 seconds with good posture and firm bracing. If posture breaks or you must limp, reduce weight. Progress by adding small increments or time once you can comfortably complete 3–5 sets with the same load.
- How often should I include suitcase carries in my program?
- Include suitcase carries 1–3 times per week depending on overall training volume. Use them as part of a strength, conditioning, or accessory block. Monitor fatigue and reduce frequency if they interfere with heavy lifts or recovery.
- Can the suitcase carry help low back pain?
- The suitcase carry trains anti-lateral-flexion strength and can be useful for resilience when programmed sensibly. If you have low back pain, consult a qualified professional before adding loaded unilateral carries; an individual assessment is necessary and no advice here replaces medical evaluation.


