
The Most Common Pallof Press Mistakes (and How to Fix Them)
Clear, evidence-aware guide to the most frequent Pallof press technique errors, why they happen, what they cost, and one concrete fix per mistake to improve core stability and transfer.
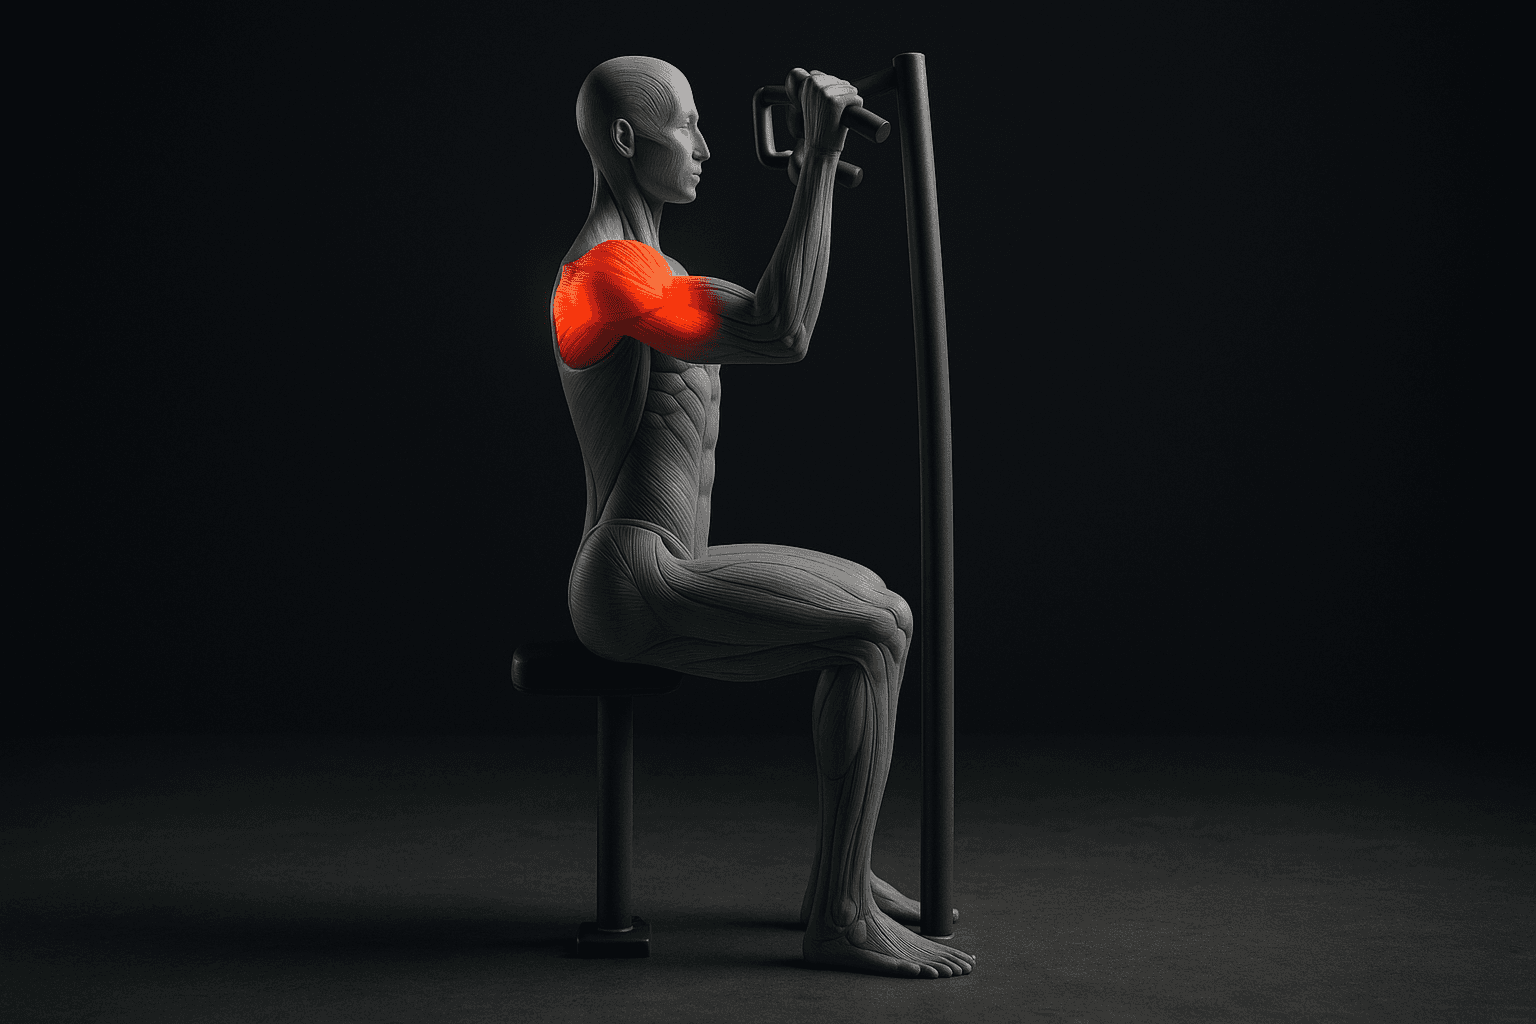
Photo by RepBro.
The most common Pallof press mistakes are poor bracing, rotating at the shoulders, using too much tension or weight, wrong stance, excessive range or collapsing at the hips, and letting slack in the line. Each reduces anti-rotation demand or increases injury risk; simple cues and regressions fix them.
What are the most frequent Pallof press technique errors lifters make?
Below are the 6 most common errors, why they happen, what they cost (lost gains or injury risk), and a single, concrete fix you can apply immediately.
- Poor bracing / holding breath or breathing incorrectly
- Why it happens: People either hold their breath and rigidly brace in a dysfunctional way, or they under-brace and try to rely on smaller muscles. Lack of cueing and misunderstanding of intra-abdominal pressure cause this.
- What it costs: Reduced ability to resist rotation, poor transfer to heavy lifts, and increased lumbar shear or compression if the brace is inappropriate. Performance suffers because the core strategy is inefficient.
- Fix: Use an exhale-brace cue: take a moderate breath, brace the ribs and abdomen like preparing to be punched, and exhale slowly through the press while maintaining that brace. Practice iso-holds (5–10 seconds) with light tension to learn the feel.
- Rotating at the shoulders instead of resisting from the trunk
- Why it happens: The shoulder joint is closer to the band/cable; if the core isn’t ready to resist, the shoulder rotates to accommodate the pull. Also common when bands are anchored too high or too low.
- What it costs: The exercise becomes a shoulder anti-rotation drill rather than a trunk one, which limits transfer to core stability and can overload the rotator cuff.
- Fix: Shorten the lever: keep the pressing arm close to the sternum and cue "don't let your ribs turn". Pause and check alignment: shoulders square to the anchor, hips square to the anchor. Progress from half-kneeling to standing only once the trunk resists rotation.
- Using too much tension or weight
- Why it happens: People treat the Pallof press like another strength move and add too much resistance too soon.
- What it costs: Compensations appear (hip shift, shoulder rotation, breath-holding), reducing the anti-rotation training effect and increasing injury risk.
- Fix: Reduce tension until you can maintain perfect posture for all reps. Increase resistance only when you can control a slightly longer hold or more reps without form breakdown.
- Poor stance or foot placement (too narrow, unstable surface)
- Why it happens: Training on unstable surfaces or with a narrow stance increases difficulty but often forces compensations. Some lifters adopt awkward foot positions to chase a stronger press.
- What it costs: Decreased transfer to real-world anti-rotation demands and increased ankle or hip instability. On an unstable surface, trunk activation patterns change and reduce the intended stimulus.
- Fix: Use a hip-width stance with feet braced. If using variations (staggered, half-kneeling), start with a stable base and only progress to instability once control is flawless.
- Excessive range or collapsing at the hips (overextension or flexion)
- Why it happens: Trying to maximize distance or using a big step leads to hip hinge or sway, which shifts the load away from anti-rotation and onto hip extensors or lumbar spine.
- What it costs: Loss of core-specific stimulus, lower-back strain, and poorer motor patterns for resisting rotation.
- Fix: Maintain a neutral spine: tuck the chin slightly, keep ribs down, and think "hip hinge minimal." Use a mirror or video to check that the hips don’t open toward the anchor.
- Slack in the band/line and inconsistent start position
- Why it happens: Setting up with slack or different starting distances each rep changes the demand and encourages cheating.
- What it costs: Inconsistent tension reduces training stimulus and makes progressive overload unreliable.
- Fix: Anchor the band/cable at a consistent height and step away to a measured distance. Keep one hand on the anchor side briefly between sets to reset and ensure equal tension each rep.
Which Pallof press setup should I use: standing, half‑kneeling, or cable?
| Setup | Stability demand | Common mistake | When to choose |
|---|---|---|---|
| Standing (two‑foot) | Moderate | Shoulder rotation, hip shift | Good general training and sport transfer once basic control exists |
| Half‑kneeling | Higher trunk demand relative to legs | Leaning or over-bracing | Useful for teaching pelvic control and anti-rotation with reduced leg involvement |
| Cable vs band | Cable = more consistent tension; band = variable, elastic tension | Bands can create more sudden peak force if too close | Use cable for precise progression; bands for portable, variable tension work |
Choose the variation that exposes your current weak link: half‑kneeling to train pelvis/scapular control, standing to train whole‑body integration.
How do I progress and know I’m getting better?
Progress when you can maintain perfect technique for the chosen rep range and feel. Progression options (in order): increase time under tension (longer holds), increase repetitions with the same control, increase band/cable tension, then change stance to a more challenging variation. Prioritise motor control; greater resistance without control is counterproductive.
Safety note: Stop on sharp or unusual pain; if you have recurring back, hip, or shoulder pain, consult a qualified clinician before progressing. This article does not diagnose injuries.
What are the limitations of remote cues and apps for your Pallof press?
No app or AI can fully replace a trained coach's eyes. Video can help, but it’s limited by camera angle, lighting, and the inability to palpate or assess breathing patterns. If you’re rehabbing an injury or have persistent pain, a qualified clinician or physical therapist must assess and prescribe specific progressions. Lastly, even the best program only works if you train consistently.
If you want structured feedback, consider recording from two angles and comparing against the cues above, or getting one session with a coach to lock in the technique.
References and final note: Anti-rotation exercises like the Pallof press are commonly recommended as part of core stability training for improved motor control. Apply the fixes above, prioritise consistent, pain-free technique, and progress resistance only after control is established.
Frequently asked questions
- How heavy should my Pallof press be?
- Use a resistance that lets you keep a rigid, non-rotating trunk for every rep. If you can’t maintain position for several controlled reps, reduce tension. Progress by increasing time under tension, band/cable tension, or repetitions only after form is consistent.
- How often should I do Pallof presses?
- Include anti-rotation work two to three times per week as accessory work within a program. Prioritise quality over volume: short, technically perfect sets are more useful than long sets with collapsing form. Adjust frequency for recovery and overall training load.
- Can Pallof presses help low-back pain?
- They can improve trunk motor control and stability, which may benefit some people with mechanical low-back issues. They’re not a universal cure. If you have acute or persistent pain, consult a qualified clinician before beginning and avoid painful ranges.


