
The Most Common Leg Curl Mistakes (and How to Fix Them)
Fix the most common leg curl mistakes—6 technique errors, why they happen, what you lose (or risk), and one concrete fix per mistake to protect gains and knees.
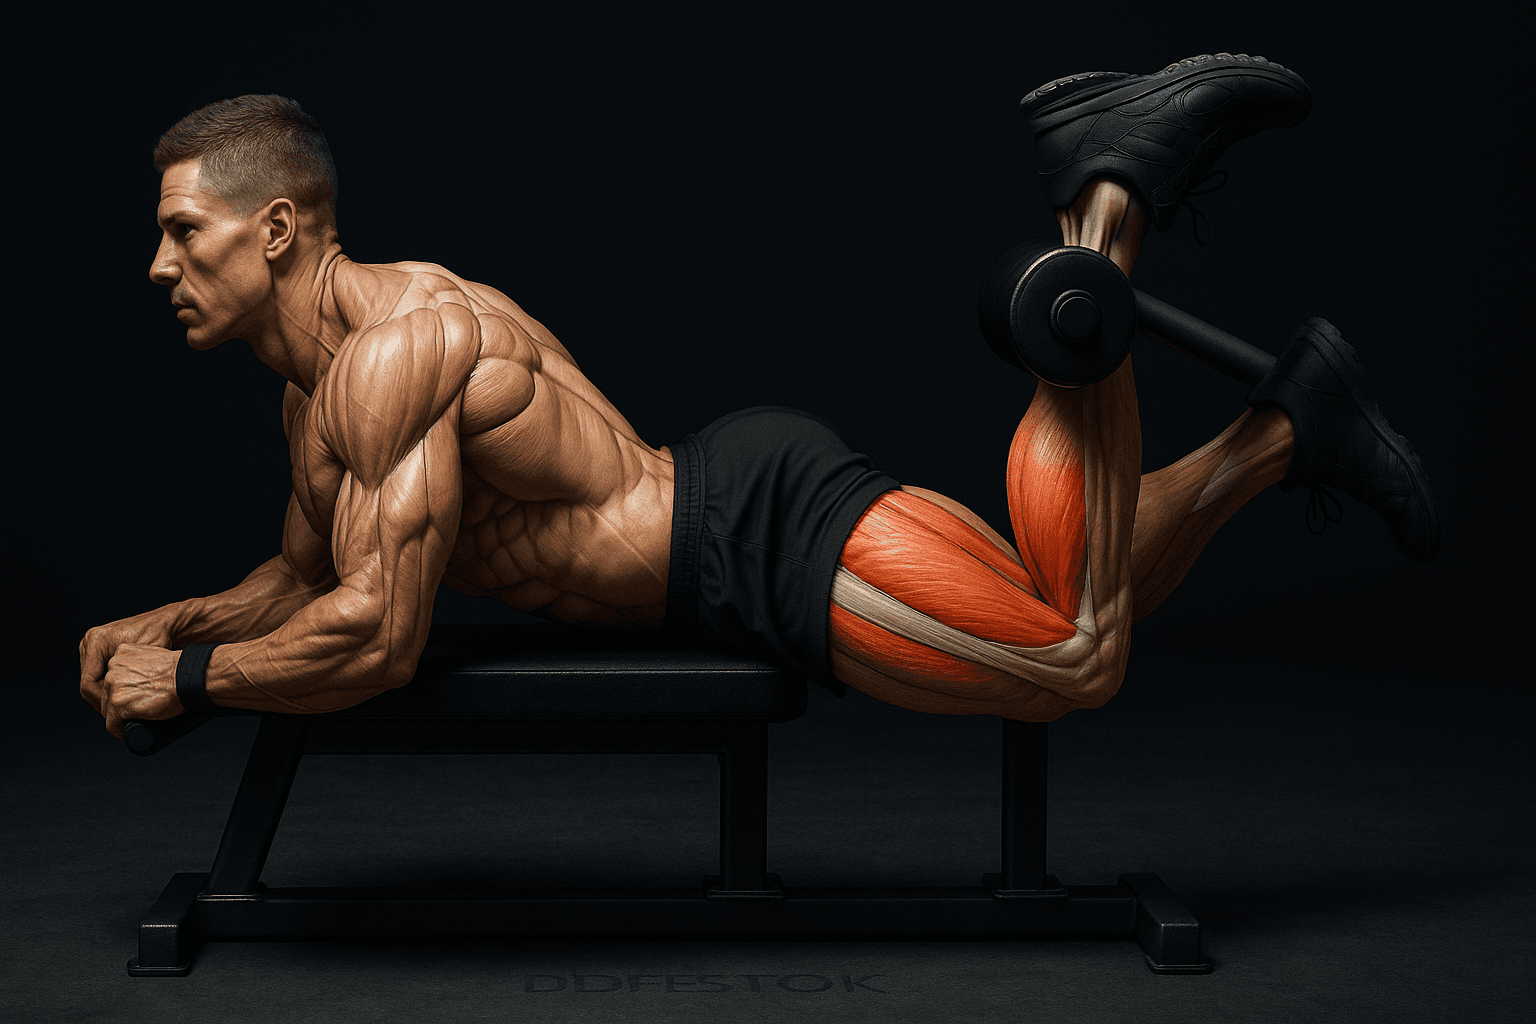
Photo by RepBro.
The most common leg curl mistakes are: swinging your hips, using too much weight (poor control), incorrect machine setup (pad/pivot misalignment), wasted range of motion (too short or hyperflexing at the top), rushing reps (no eccentric control), and ignoring foot/toe position — each reduces hamstring stimulus or raises injury risk. Keep reading for why each happens, what it costs, and one concrete fix you can apply today.
Are you swinging your hips and turning the curl into a hip hinge?
Why it happens: People load the machine too heavy or try to get the weight up by driving the hips, especially on lying leg curls where it's easy to arch and recruit glutes and low back.
What it costs: You shift load off the hamstrings, reducing hypertrophy stimulus, and increase low-back strain — raising injury risk.
Fix: Put 10–20% less weight on the machine and pin your hips. On a lying curl, tuck the pelvis and clamp the bench with your glutes; on seated curls, press your back into the pad. Perform 3–4 sets of 8–12 reps with a controlled 2–3s eccentric and no visible hip motion.
Are you using too much weight and skipping the eccentric?
Why it happens: Ego lifting or chasing a rep PR makes people yank the weight up and let the weight drop back uncontrolled.
What it costs: You lose time under tension (key for muscle growth) and increase tendon and joint stress from uncontrolled decelerations.
Fix: Select a weight you can lower for 2–3 seconds. Cue: 3s down, 0.5s pause at the bottom, 1s up. If you can’t keep that tempo for your target reps, reduce the load by ~15–25%.
Is your machine set up incorrectly (pad or pivot in the wrong place)?
Why it happens: Machines vary and people rarely adjust. Pads too high/low or the machine’s pivot not aligned with your knee joint changes the lever arm.
What it costs: A bad setup reduces hamstring mechanical advantage, limits ROM, and can concentrate stress on the knee joint or the Achilles region.
Fix: Adjust so the machine pivot is aligned (or as close as possible) to your lateral femoral condyle (outside of the knee). The ankle pad should sit just above the Achilles tendon, not on the calf belly. Do a test rep and feel that the movement pivots at the knee — if it feels off, tweak until it does.
Are you cutting the range of motion too short or hyperflexing at the top?
Why it happens: Short ROM feels easier and lets you lift heavier; hyperflexing (tucking the pelvis) feels like a stronger peak contraction but shifts load to other structures.
What it costs: Short ROM reduces total hamstring work; hyperflexing risks cramping, tendon overload, and inconsistent tension across the set.
Fix: Use a full, controlled ROM that stops before your pelvis lifts or your lower back rounds. Practically: lower until your shins pass vertical (or until you feel a mild stretch in the hamstrings), take a 0.3–1s turn-around, then curl back under control. If the top causes your hips to rise, reduce ROM or weight.
Are you rushing reps and losing time under tension?
Why it happens: Resting between sets or short attention span—people rush through accessory work.
What it costs: Fast reps cut the eccentric time and reduce metabolic and mechanical stimuli important for hypertrophy and tendon health.
Fix: Use a simple tempo: 3s eccentric, 0.5s pause, 1s concentric. Use a watch or an app to track tempo. If you want a practical tool to record set times and tempos, try RepBro to keep consistent tempos and progressive overload.
Are you ignoring foot and toe position?
Why it happens: Foot position feels minor, so it gets overlooked; many assume toes must always be neutral.
What it costs: Different toe positions redistribute tension between the medial and lateral hamstrings and calves. Neglect can leave portions of the hamstrings undertrained and may create imbalances.
Fix: Use targeted toe positions depending on your goal: toes pointed slightly out (about 15–25°) emphasizes the medial hamstrings, toes slightly in emphasize the lateral hamstrings; neutral is fine for balanced training. Make small, consistent changes and track soreness and performance rather than guessing.
When should you stop or seek help?
If you feel sharp or unusual pain (not normal muscle burn or fatigue), stop immediately and consult a qualified professional. Persistent knee, tendon, or low-back pain after leg curls warrants assessment. This article is educational, not a diagnosis.
Practical checklist to use next session:
- Align pivot and pad before loading the machine.
- Reduce weight until you can perform a 3s eccentric and controlled concentric.
- Lock your hips and watch for torso movement.
- Pick a toe position and keep it consistent.
- Track tempo and sets (use an app like RepBro if you want a quick logging tool).
One-sentence takeaway: Fix setup, control tempo, and limit hip cheat—those three corrections alone recover most lost hamstring gains and lower your injury risk.
Frequently asked questions
- How much weight should I use on leg curls?
- Choose a weight you can control for the whole set with a 2–3s eccentric and a controlled concentric; aim for RPE 7–8 on most working sets rather than maxing out each set.
- Should I do seated or lying leg curls?
- Both work the hamstrings; seated curls bias the long head (less hip extension), lying curls allow more hip involvement—pick the machine that lets you set up correctly and control the movement; use both over time for variety.
- Is it bad to feel hamstring cramping during leg curls?
- Occasional cramping can be from fatigue, dehydration, or too-small ROM; sharp pain or persistent cramping is a sign to stop and consult a qualified professional.


