
Hip Adduction Machine: Muscles Worked and Practical Alternatives
Clear, evidence-aware guide to what the hip adduction machine trains, how to use it in a program, and 4 practical alternatives for different equipment, injury, and plateau scenarios.
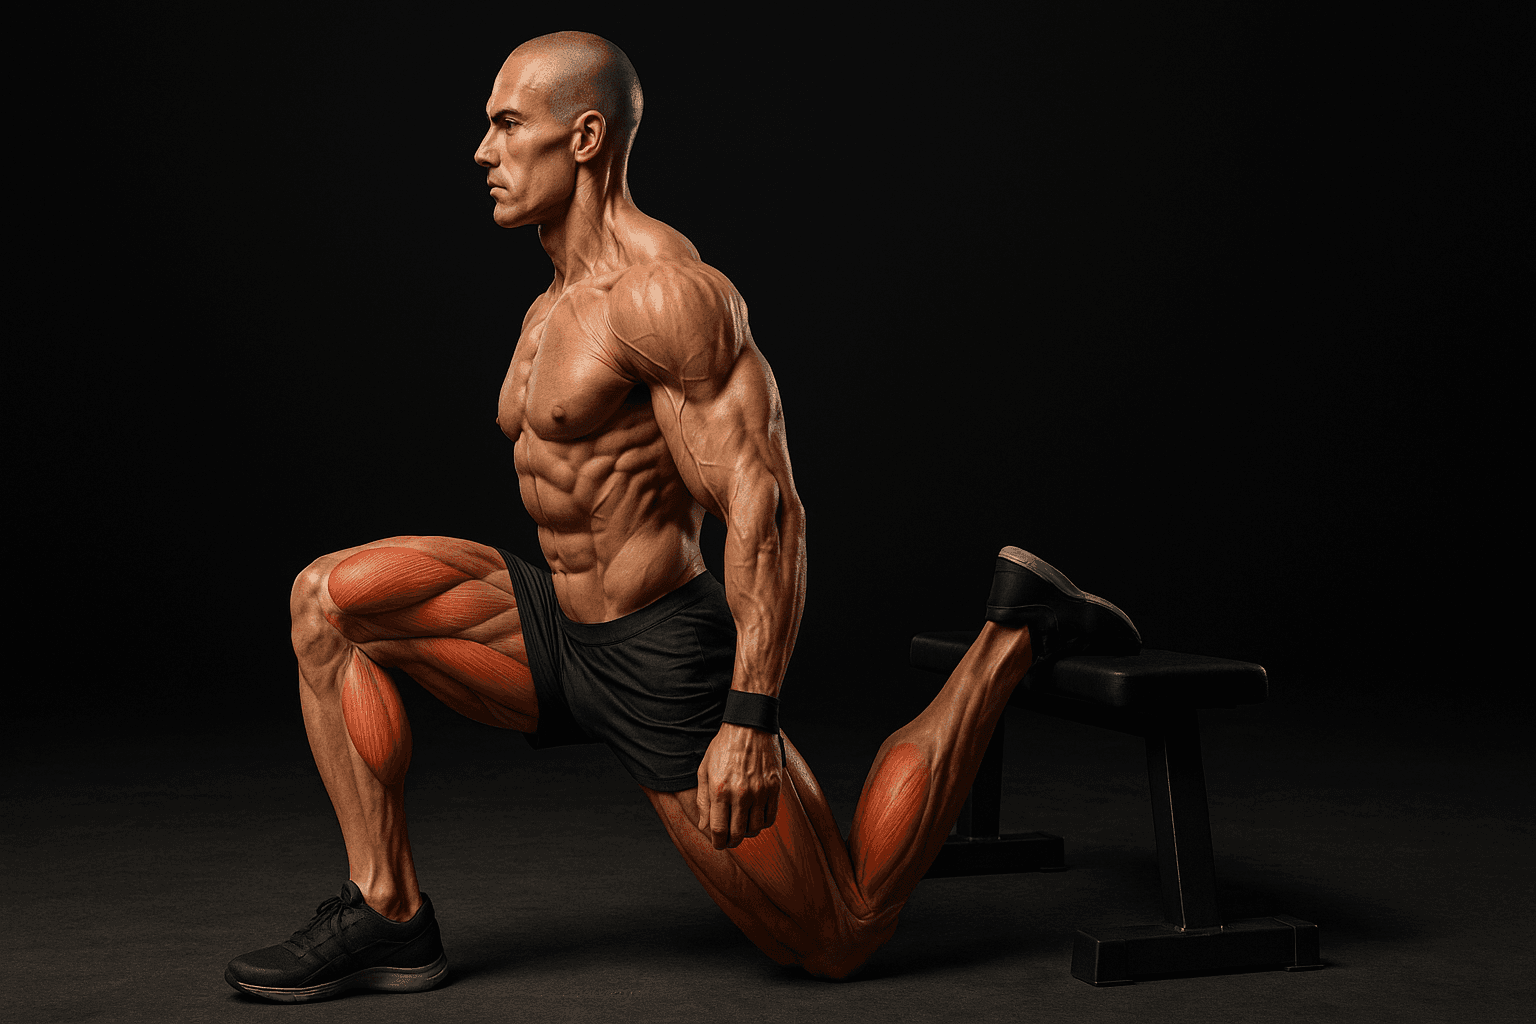
Photo by RepBro.
The hip adduction machine primarily trains the medial hip muscles (adductor longus, brevis, magnus, and gracilis) with secondary assistance from the pectineus and parts of the hip flexors; it serves as an accessory isolation exercise for hypertrophy, imbalance correction, and controlled strengthening.
What muscles does the hip adduction machine train?
The machine targets the hip adductor group: adductor longus, brevis, magnus, and gracilis are the primary movers. The pectineus contributes as a secondary adductor and hip flexor. Because the movement is largely frontal-plane, the adductors work concentrically to bring the thigh toward midline and eccentrically to control opening. These muscles also assist hip stabilization during compound lifts (squats, deadlifts) and pelvic control during running and change of direction.
How intense and specific is the stimulus compared with compound lifts?
The adduction machine provides isolated, single-joint loading. It’s useful when you want to direct volume into the adductors without demanding spinal or knee loading that compound lifts create. For hypertrophy and strength of the adductors, use progressive overload principles similar to other accessory lifts: choose a load you can control through full range, increase reps or load over weeks, and monitor recovery. Place it as accessory work—not a replacement for multi-joint exercises that build overall lower-body strength.
Where does the hip adduction machine fit in a program?
- Frequency: 2–3 times per week for most goals (hypertrophy/strength), with 48–72 hours between sessions for the same muscle group.
- Placement: after heavy compound work (squats, deadlifts, lunges) when you’re not too fatigued to control the movement.
- Sets and reps: common approaches include moderate volume (2–4 sets of 8–15 reps) when training for hypertrophy, and lower rep/higher load schemes if focusing on strength. Adjust volume based on total weekly workload and recovery.
- Use cases: correcting strength imbalances between legs, targeting persistent weakness in the frontal plane, adding variety for hypertrophy, or controlled strengthening during late-stage rehab.
What are solid alternatives to the hip adduction machine, and when should you pick each?
Below are four practical alternatives with when to choose them.
- Standing cable (low pulley) hip adduction
- When to pick: gym has cables but no adductor machine; you want unilateral loading and progressive weight increments.
- Why: allows single-leg focus, versatile angles, easy progressive loading and tempo control.
- Caveat: requires good balance and trunk stability; reduce load until technique is solid.
- Copenhagen adduction (partner/bench)
- When to pick: bodyweight option for high-intensity eccentric/isometric loading, injury-prevention and tendon-strengthening phases.
- Why: strong stimulus for adductor strength and control, used in athletic populations to reduce groin injury risk.
- Caveat: technically demanding; regressions needed if painful or weak.
- Lying side-lying hip adduction (weighted ankle or band)
- When to pick: rehab, early-stage strengthening, or when equipment is limited.
- Why: low-load, controlled, good for isolating the adductor longus with minimal spine load.
- Caveat: limited maximum load compared with standing or machine options; progress by adding resistance or reps.
- Seated squeeze (medicine ball or physio ball) or banded adductor squeeze
- When to pick: home workouts, core-and-adductor co-contraction, or to add volume without heavy loading.
- Why: simple, low-risk way to add cumulative loading to the adductors and pelvic stabilizers.
- Caveat: largely isometric; less effective alone for maximal hypertrophy without progressive overload.
How do these alternatives compare?
| Exercise | Equipment | Loadability | Rehab-friendly | Use case |
|---|---|---|---|---|
| Hip adduction machine | Adduction machine | High | Moderate | Direct isolation, easy progression |
| Standing cable adduction | Cable machine | High | Moderate | Unilateral strength, progressive overload |
| Copenhagen adduction | Bench/partner | Bodyweight/assisted | Good (when guided) | Tendon loading, athletic strength |
| Side-lying adduction | Mat + ankle weight/band | Low–moderate | High | Early rehab, isolation |
| Seated squeeze | Ball/band | Low | High | Volume accumulation, pelvic control |
How to pick an alternative based on goals and constraints
- Equipment limits: choose band or side-lying variations at home; use cables in a commercial gym.
- Injuries: for acute groin pain start with pain-free isometrics and clinician-guided progressions; side-lying and isometric ball squeezes are conservative early steps.
- Plateauing: change modality (machine → single-leg cable or Copenhagen), adjust tempo (slow eccentrics), or add progressive overload via heavier resistance or more weekly volume.
Short safety note
Stop any exercise that causes sharp or worsening pain. If you’ve had a recent groin strain, hip, or pelvic injury, get clearance from a qualified clinician before loading. This article does not diagnose or prescribe rehabilitation—consult a physiotherapist for individual guidance.
Limitations: what training apps and AI can’t do for you
- No app or AI can reliably see and correct your movement quality in real time; only an in-person coach or therapist can provide thorough movement screening and hands-on correction.
- Apps can’t diagnose injuries or replace a health professional’s assessment; use them for tracking and guidance, then consult a clinician when pain or functional limits exist.
- A program is only effective if you consistently follow it and tune volume, load, and recovery to your individual response. Tracking tools (for example, RepBro) can help record sets and progression but can’t guarantee adherence or recovery.
If you want a simple plan to start integrating adductor work, aim for 2 sessions per week of targeted adductor volume (2–4 sets of controlled reps or progressive isometrics), monitor soreness and performance, and increase load only when form remains consistent.
References and further reading: consult consensus strength-and-conditioning guidelines and your local physiotherapist for tailored rehab protocols.
Frequently asked questions
- Does the hip adduction machine build muscle?
- Yes. The hip adduction machine places direct load on the hip adductors (adductor longus, brevis, magnus, gracilis) and can produce hypertrophy when used progressively, with appropriate volume and load similar to other isolation exercises and integrated into an overall program.
- How often should I train my hip adductors?
- Train hip adductors 2–3 times per week if you want strength or hypertrophy, with 48–72 hours between sessions. Include them as accessory work after compound lifts and follow progressive overload, adjusting volume based on recovery and overall training load.
- Can the hip adduction machine help with a groin strain?
- A machine can be useful for controlled loading during later-stage rehab, but acute groin pain needs assessment. Start with pain-free isometrics and low-load work under a clinician’s guidance before returning to loaded adduction exercises.


