
Glute Kickback: Proper Form, Step by Step
Step-by-step guide to glute kickback form: setup, execution cues, breathing, tempo, common mistakes and fixes. Safety-first, evidence-aware coaching for lifters.
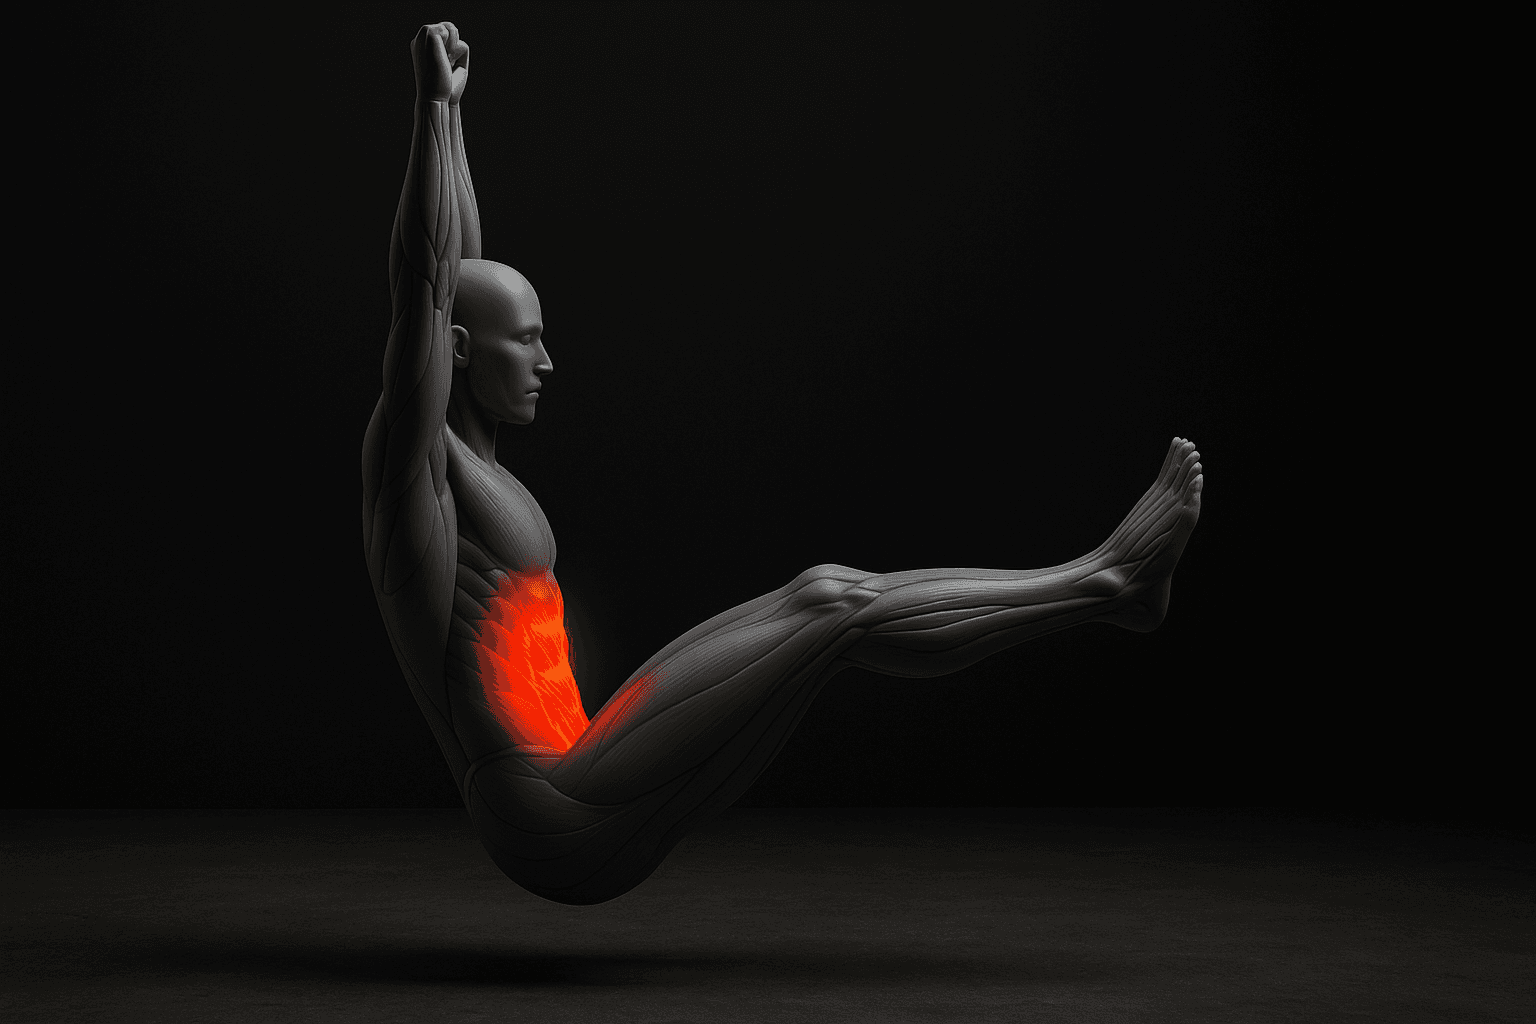
Photo by RepBro.
Glute kickbacks target hip extension and the posterior chain. For proper form: set a neutral spine, hinge slightly at the hip, keep the knee bent ~90° (or straight for variation), drive the heel back and up until the glute contracts, control the return. Stop on sharp pain and consult a professional.
What is the glute kickback and when should I use it?
The glute kickback is an accessory exercise that emphasizes hip extension, primarily loading the gluteus maximus and assisting gluteus medius. Use it for targeted glute activation, variety in a lower-body day, or as a higher-rep finisher after heavier compound lifts. It complements, but does not replace, multi-joint movements like deadlifts or squats.
How do I set up for a glute kickback?
- Surface and equipment: use a flat bench, mat, cable machine, resistance band or bodyweight on the floor. Knees and hands should be comfortable and braced.
- Body position: get on all fours (quadruped) with wrists under shoulders and knees under hips. Spread fingers for a stable base.
- Spine and pelvis: keep a neutral spine—avoid tucking or overarching. Slight hip hinge (neutral pelvis) is fine. Draw the ribs down toward the pelvis and brace the core lightly.
- Knee/foot angle: choose knee-bent (~90°) for a stronger glute contraction and less hamstring involvement, or straight leg for longer lever and more hamstring work.
How do I perform the glute kickback, step by step?
- Set the starting position: quadruped with controlled breathing and an active core.
- Initiate with the glute: imagine pinching a coin between your buttocks—lead the movement from the hip, not the lumbar spine.
- Drive the heel back and up: extend the hip until the thigh is in line with the trunk or slightly above. Avoid lifting by arching the lower back; stop when you feel a strong glute contraction.
- Pause and squeeze: hold 0.5–1 second at the top to maximize muscle tension.
- Return under control: lower the leg with a slow eccentric phase back to the start without dropping the knee in or rotating the hips.
- Repeat for prescribed reps, then switch sides.
Use a controlled tempo: 1–2 seconds concentric (lifting), 0–1 second top hold, 2–3 seconds eccentric (lowering). This balance increases time under tension and reduces momentum.
What breathing and tempo should I use?
- Breathing: exhale during the concentric effort (the kickback) and inhale while returning to the start. This supports intra-abdominal pressure and core stability.
- Tempo: a commonly effective and evidence-aligned tempo is 1–2s concentric, brief 0.5–1s isometric hold, 2–3s eccentric. For activation use higher reps and slightly slower tempo; for strength use heavier resistance and lower reps with controlled tempo.
How should I load and progress glute kickbacks?
- Frequency: include kickbacks 2–3 times per week if they are a primary accessory for your glutes.
- Volume: aim for 2–4 sets per session. Adjust reps by goal: 8–12 for hypertrophy with added resistance; 12–20 for activation/endurance with lighter load.
- Progression: increase resistance (cable, ankle weight, band tension), increase reps, add tempo control, or move to a less stable/harder variation. Track load and reps to ensure progressive overload.
- Deloads: schedule lighter weeks or reduced volume periodically if overall fatigue accumulates; follow your broader program's deload strategy.
How do different glute kickback variations compare?
| Variation | Stability | Loading potential | Best use-case |
|---|---|---|---|
| Bodyweight quadruped | High stability | Low | Activation, beginners, warm-ups |
| Ankle weight / dumbbell behind knee | Moderate | Moderate | Progressive overload without machines |
| Cable machine | Moderate | High | Precise loading and progressive tension |
| Standing band kickback | Low | Low–Moderate | Home workouts, single-leg balance challenge |
| Bench/hip-supported prone kickback | Moderate | Moderate | Stronger contraction, less wrist stress |
What are common mistakes and how do I fix them?
-
Mistake: Arching the lower back to lift higher. Fix: Keep ribs down, brace the core, focus on hip extension rather than lumbar extension.
-
Mistake: Rotating hips or dropping the working-side hip. Fix: Keep hips square to the ground; imagine pushing through a narrow doorway behind you.
-
Mistake: Using momentum or fast, uncontrolled reps. Fix: Slow the eccentric phase and hold the top briefly; quality beats quantity.
-
Mistake: Letting the knee fall inward or outward at the top. Fix: Track the knee in line with the hip; cue “heel to ceiling” and “knee points to floor when lowered.”
-
Mistake: Not feeling the glute and over-using the hamstrings. Fix: Use a slightly bent knee, shorten range if needed, and practice slow isometric squeezes to improve mind–muscle connection.
What should I watch for to stay safe?
Stop immediately if you feel sharp or radiating pain. If you have a history of lower-back or hip problems, consult a licensed clinician or physiotherapist before adding variations that increase load. Never rely on online material alone to diagnose or treat pain.
Short FAQ
-
Will kickbacks grow my glutes alone? Kickbacks are useful but work best within a program that includes heavy, compound hip-extension exercises for maximal hypertrophy and strength gains.
-
Are bent-knee or straight-leg kickbacks better? Bent-knee versions emphasize the gluteus maximus more and reduce hamstring involvement; straight-leg lengthens the lever and recruits hamstrings more.
-
How many reps until I progress load? When you can complete your target reps with clean form and control, increase load or choose a harder variation.
What can't apps or AI coaching do? (Limitations)
Apps and AI can track sets, suggest tempos, and show examples, but they cannot see you in real time to correct subtle form faults, assess pain origins, or provide hands-on rehabilitation. For persistent pain, personalized assessment and manual techniques from a qualified professional are necessary. A plan only works if you follow it consistently—consistency beats app choice.
Safety note: this article offers coaching guidance, not medical advice. If you experience sharp pain or have an injury, stop and consult a qualified clinician. If you want to log progress or tempo cues, apps like RepBro can help track sets and weights.
If you want a quick checklist before your next set: neutral spine, ribs down, core braced, lead with the heel, squeeze at the top, controlled lower. Practice these cues for reliable, repeatable reps.
Frequently asked questions
- Are glute kickbacks effective for glute development?
- Yes—when performed with deliberate contraction and progressive overload, glute kickbacks target the gluteus maximus and medius. They are most effective as part of a balanced program that includes hip-dominant lifts (e.g., deadlifts, hip thrusts) and compound movements.
- How many sets and reps should I do for glute kickbacks?
- Aim for 2–4 sets per session, 2–3 sessions per week. Use higher reps (10–20) with lighter load for activation or controlled tempo, and 6–12 reps with added resistance when targeting strength and hypertrophy.
- Will glute kickbacks hurt my lower back?
- They shouldn’t if you maintain a neutral spine and avoid forceful lumbar extension. Stop on sharp pain. If you have existing back pain, consult a qualified clinician before adding kickbacks; they can’t be relied on to diagnose or treat injuries.


