
Farmer Carry: Muscles Worked and Best Alternatives
Learn which muscles the farmer carry trains (primary and secondary), how to program it, and 3–4 practical alternatives based on equipment, injuries, and plateaus.
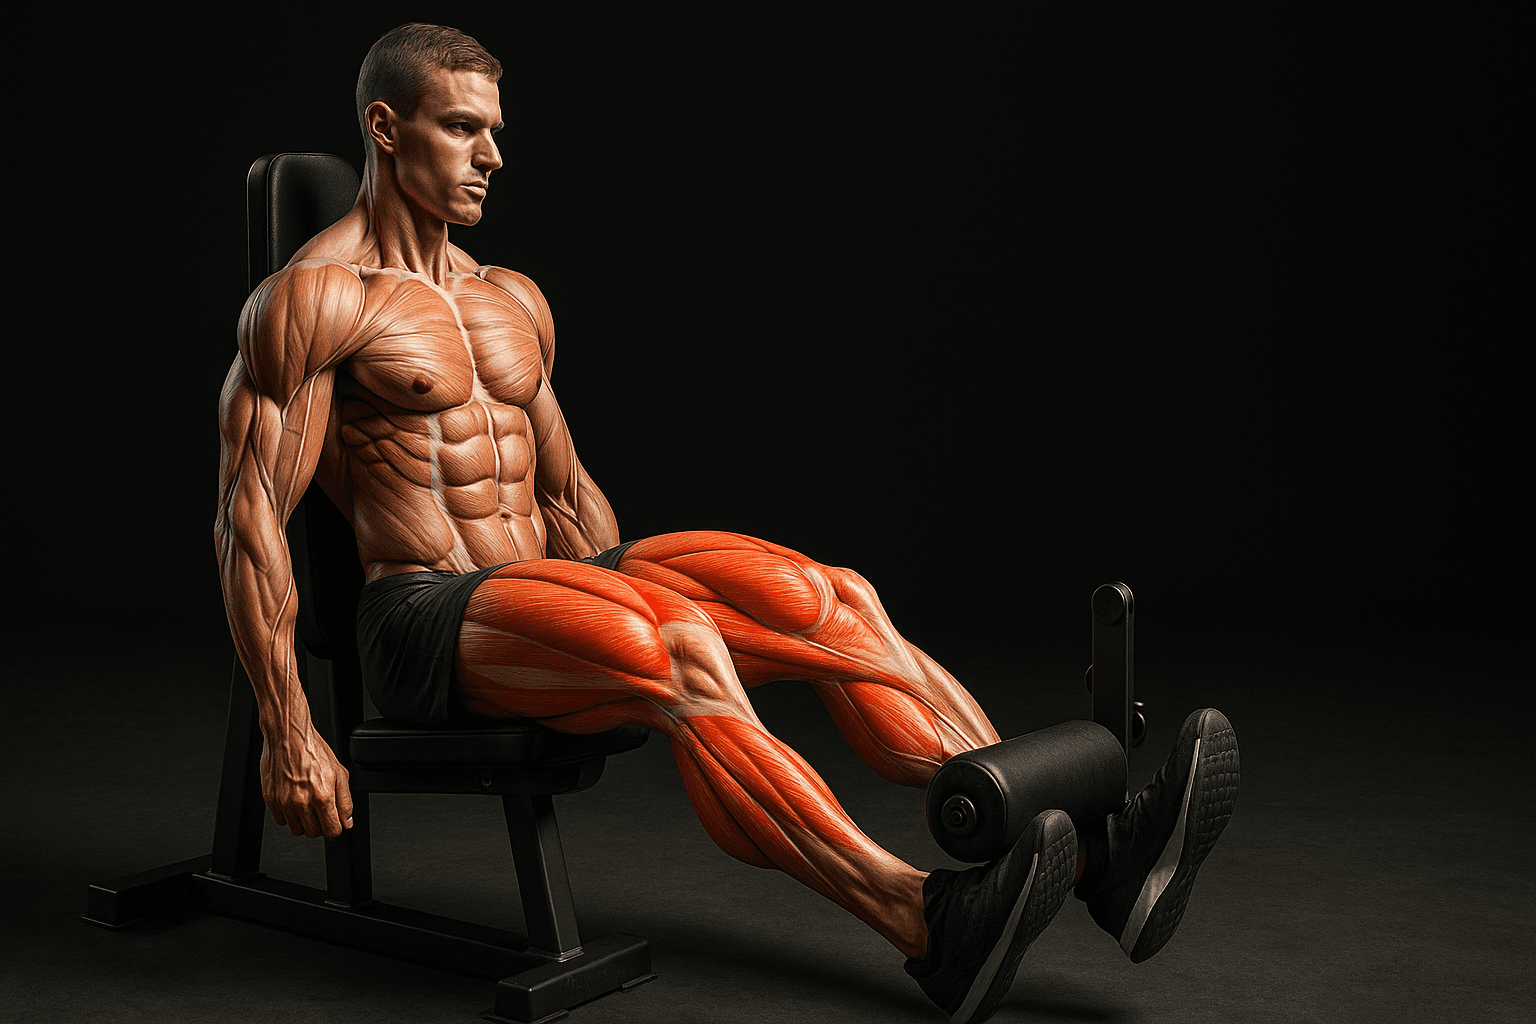
Photo by RepBro.
Which muscles does the farmer carry train?
The farmer carry primarily trains the forearms/grip and the upper trapezius (shruggers) to hold the load, and secondarily trains the posterior chain (glutes, hamstrings, spinal erectors), core (anti-flexion and anti-rotation), and lower traps/latissimus for scapular stability. In short: primary = grip and traps; secondary = posterior chain, core, upper back and even quads for walking force.
How does the farmer carry load those muscles (what happens during the exercise)?
- Grip/Forearms: maximal isometric contraction to prevent the weights from slipping. Expect high time-under-tension for flexor muscles.
- Upper Traps/Shoulder Girdle: heavy carry loads drive scapular elevation and stabilization.
- Posterior Chain & Quads: hips and legs produce forward momentum and control each step; loads increase demand on glutes and hamstrings.
- Core: anti-extension and anti-rotation demands are elevated because the weights try to pull you out of alignment.
- Scapular Stabilizers/Lats: resist downward pull of the load and keep the chest upright.
Where should the farmer carry fit in my program?
Place farmer carries as an accessory/conditioning movement 1–3x per week. Use these guidelines:
- Strength block: 3–6 sets of 15–45 seconds or 10–40 m, heavier loads, 2–4 min rest, 1–2 times weekly to build max grip and upper trap strength.
- Hypertrophy/General conditioning: 2–4 sets of 30–90 seconds or 20–100 m, moderate loads, 60–120 s rest, 1–3 times weekly for metabolic conditioning and core stability.
- Conditioning/Finisher: 3–5 sets of 20–60 seconds with shorter rest, lighter load, to raise work capacity without frying CNS.
If you have a heavy lower-body day (squats/deads), put farmer carries later in the session or on a separate day because they stress the posterior chain and grip.
What are safe form cues and progression numbers?
- Posture: stand tall, chest up, neutral neck. Pull the shoulders down/back slightly (not extreme retraction).
- Step: short, controlled steps — 0.6–0.9 m (2–3 ft) cadence for stability.
- Breathing: inhale to brace before each set; exhale as you walk and reset between breaths as needed.
- Progression: increase distance by 10–25% or load by 2.5–5 kg per week if you complete target sets/lengths with control. Aim to progress one variable at a time.
Safety note: stop on sharp pain and consult a qualified professional for persistent issues. This is general advice, not a diagnosis.
What are 3–4 solid alternatives and when should I pick each?
- Suitcase Carry (single-arm farmer carry)
- What: Carry a single weight at your side and walk.
- Why pick it: Fixes imbalances and forces stronger anti-lateral-flexion/core bracing. Use when you have uneven strength between sides or want to train core anti-lateral flexion more directly.
- Equipment: single dumbbell, kettlebell, or heavy suitcase.
- Injuries/limits: good for reduced loading on spine versus two heavy implements; avoid if you have acute oblique strains.
- Programming: 3–4 sets of 20–50 m per side or 30–60 s per side.
- Trap-Bar Carry (or trap-bar deadlift holds/walks)
- What: Use a trap/hex bar loaded with plates; hold handles and walk.
- Why pick it: Keeps load close to center of mass, lowers shear on the lumbar spine, and allows heavier loads than dumbbells while reducing grip-only limits if using straps.
- Equipment: trap/hex bar and plates.
- Injuries/limits: choose when you have low-back sensitivity or when dumbbells/kettlebells are too light for progression.
- Programming: 3–6 sets of 15–40 m or 20–50 s; you can use lifting straps for longer holds.
- Rack Carry / Front Carry (goblet or front-rack)
- What: Hold weight at chest (goblet) or in front rack (barbell/kettlebells) and walk.
- Why pick it: Stress anterior chain and upright posture; better for people with limited grip strength but wanting core/trunk and quad emphasis. Also useful for people with shoulder issues that prevent heavy side-loading.
- Equipment: kettlebell, dumbbell (goblet) or barbell in front rack.
- Injuries/limits: choose if grip is the limiting factor or if carrying at sides irritates the shoulder.
- Programming: 3–5 sets of 20–60 m or 30–60 s.
- Farmer Carry with Short Holds / Static Farmer Holds
- What: Unloaded walk replaced by static holds for time (standing still) or short shuttles.
- Why pick it: Overcome grip plateaus and teach longer isometric strength without aerobic fatigue; also useful if walking aggravates a lower limb issue.
- Equipment: heavy dumbbells, trap bar or farmer handles.
- Injuries/limits: choose if ankle/knee pain prevents walking or if grip is the limiting factor.
- Programming: 4–6 sets of 30–90 s holds with 2–3 min rest.
For comparison between variations and equipment trade-offs, see RepBro’s comparisons at https://www.repbro.app/vs and consider logging carries into your plan with RepBro.
How do I choose between these options if I have equipment or injury limits?
- No heavy dumbbells/kettlebells: use trap-bar or loaded suitcase (plate in a backpack as last resort) and focus on distance/time.
- Grip-limited: choose front/rack carries or use straps on trap-bar carries; alternate with static holds to build grip durability.
- Low-back pain: use trap-bar carry to keep load centered, lower weight, and prioritise shorter distances (10–30 m) with higher frequency.
- Plateau on distance: increase load instead of distance; add 5–10% weight and keep distance constant, or add set volume (1 extra set every 1–2 weeks).
How to track progress and when to switch?
Track three variables: load, distance/time per set, and number of sets. Improve one variable at a time. Switch variation when:
- Grip stalls: move from side-loaded to front-loaded carries or add static holds.
- Back/shoulder pain persists: move to trap-bar carries or lighter, more frequent carries.
- You need greater specificity (e.g., sport or job): mimic the environment—if carrying uneven loads is required, use suitcase carries.
One-sentence takeaway: Farmer carries are a simple, time-efficient full-body loading pattern that primarily builds grip and upper-trap strength while training the posterior chain and core—pick a variation based on your equipment, injury profile, and which limiting factor (grip, back, posture) you need to address.
Frequently asked questions
- Is the farmer carry mainly a grip exercise or a full-body exercise?
- The farmer carry is both: grip strength and upper traps are primary drivers for holding weight, while the posterior chain (glutes, hamstrings, erectors), core, and stabilizers are secondary. It’s a time-under-tension, total-body loading pattern rather than an isolation move.
- How heavy should my farmer carry be?
- Pick a load that lets you maintain upright posture and walk 20–50 m or 20–60 seconds per set. For most trained lifters this is 70–90% of a single-arm dumbbell max you can shrug for 3–5 reps; for beginners, start with a weight you can hold for 30–45 seconds with neutral spine.
- Can I do farmer carries if I have a lower-back issue?
- Possibly, but modify: reduce load, shorten distance, use a trap-bar or rack carry to keep load closer to the torso, and stop on sharp pain. Consult a qualified clinician before loading if you have an active or serious back condition.


