
Farmer Carry: Proper Form, Step by Step
Definitive step-by-step guide to farmer carry proper form: setup, cues, breathing, tempo, common mistakes and fixes. Safety-first, evidence-aware coaching.
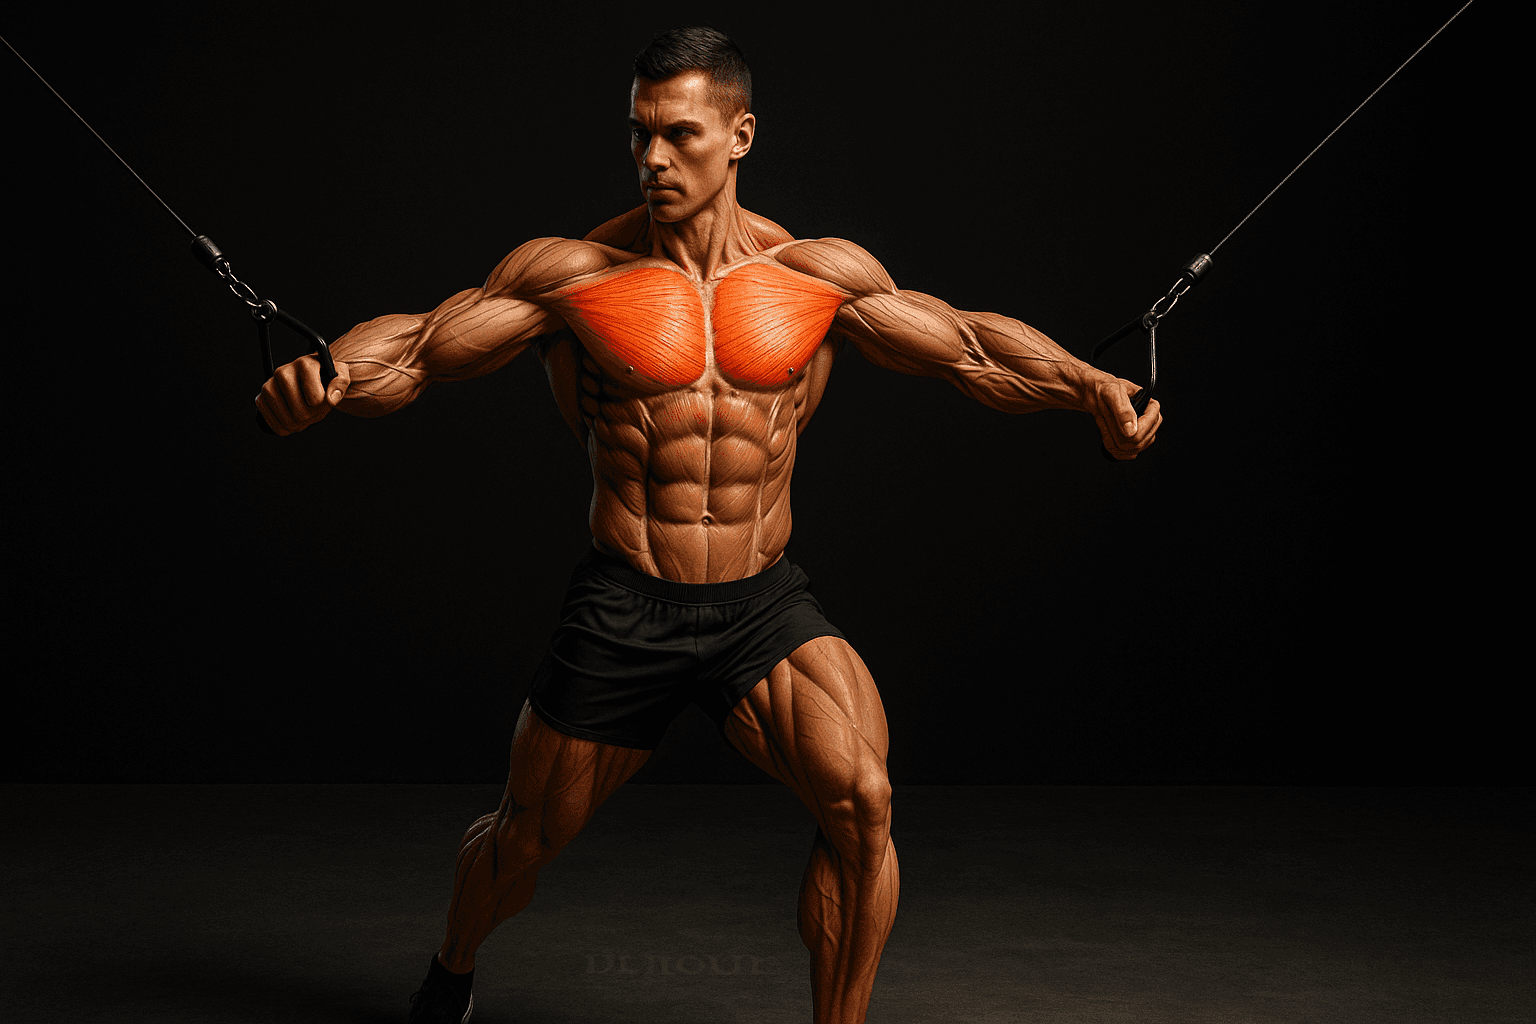
Photo by RepBro.
What is the correct position for a farmer carry and why?
The farmer carry proper form is upright posture, neutral spine, shoulders packed (slightly retracted and depressed), a strong braced core, and a firm grip on the weights at your sides while you walk with deliberate, short steps. This position transfers load through your skeletal structure, reduces unnecessary spinal shear, and makes the carry a full-body strength and stability exercise.
How do I set up for the farmer carry step by step?
- Choose your equipment: hex/trap dumbbells, kettlebells by the handle, or farmer handles. Pick a weight you can control for 20–40 seconds or about 20–40 m.
- Foot placement: stand with feet roughly hip-width apart (about 20–30 cm / 8–12 in), toes pointing forward.
- Approach the weights so the handles are beside the middle of your feet. Hinge at the hips with a slight knee bend. Keep your chest up and eyes forward.
- Grip: close the hands around each handle; thumbs wrap around the handle. If using straps or chalk, use them only if needed—grip strength is a trained outcome.
- Lift: drive through your heels and mid-foot, extend hips and knees together to stand. Maintain a neutral spine—no hyperextension or rounded lower back.
- Brace and breathe: take a diaphragmatic breath into your belly and brace your trunk as if preparing for a punch; this stabilizes your spine.
- Start walking: take 1 deliberate step per second (roughly), keeping steps short—about 30–60 cm / 12–24 in. Walk for your planned distance/time.
- Finish: stop, reset your breath, then lower the weights by hinging at the hips, keeping the back neutral, and placing them down gently.
How should my breathing and tempo look during a set?
- Breathing: inhale and brace before you lift the weights. Once walking, breathe rhythmically—exhale every 2–4 steps. Avoid breath‑holding for longer than 10–15 seconds. If you need to take a recovery breath, stop and reset rather than gasping while moving.
- Tempo: aim for controlled movement, about 1 step per second. That tempo keeps you stable and reduces pendulum-like sway. For shorter, heavier carries you can take slightly quicker, stronger steps; for endurance carries, maintain a steady cadence.
What are the key execution cues I should use?
- "Chest proud, eyes forward": keeps the thoracic spine in a good position.
- "Pack your shoulders": pull shoulders down and slightly back without shrugging.
- "Brace your core": fill your abdomen with air and stiffen the trunk.
- "Small, deliberate steps": control the pelvis and reduce sway.
- "Grip tight, wrists neutral": prevent forearm collapse and wrist deviation.
What are common mistakes and how do I fix them?
- Rounded upper back (thoracic kyphosis): fix by cueing "chest up, eyes forward," practicing banded thoracic extensions, and using a slightly lighter load until the position holds for the full walk.
- Hips swaying/over-rotating: use shorter steps, focus on keeping the hips level, and add 1–2 seconds of isometric side plank work to build anti-rotation strength.
- Shrugging the shoulders toward the ears: actively depress the scapulae before you lift—think "elbows to pockets"—and reduce weight if necessary.
- Overreliance on arm strength (arms moving forward): keep the arms straight and let the load hang; move by driving through the hips and legs.
- Excessive breath-holding: breathe rhythmically—exhale every 2–4 steps; stop and reset between sets if needed.
- Picking weights that are too heavy or walking distances that are too long: pick a weight you can move with clean posture for 20–40 seconds or 20–40 m, then progress by 5–10% or 5–10 m increments.
How should I program farmer carries into my training?
- General strength: 3–5 sets of 20–40 m or 20–40 seconds, 60–120 seconds rest.
- Grip emphasis: heavier loads for shorter distances (10–20 m) or timed dead-hang holds.
- Conditioning: lighter loads for longer distances or intervals (45–90 seconds).
- Frequency: 1–3 times per week depending on overall workload and recovery.
Track your carries (weight, distance, time, and rest) to make steady progress—apps like RepBro make logging simple.
When is a farmer carry unsafe and what should I do?
Stop immediately if you feel sharp or shooting pain in your back, neck, joints, or limbs. Do not try to "push through" sharp pain—place the weights down safely and consult a qualified professional. If you have known cardiovascular, joint, or hernia issues, check with a medical or rehab professional before attempting heavy loaded carries. This guide gives technique coaching, not a diagnosis.
How does the farmer carry compare to other loaded carries?
The farmer carry is bilateral and symmetric, so it emphasizes axial loading and bilateral grip strength more than unilateral carries like the suitcase carry, which trains lateral stability and anti-lateral flexion more. If you want to compare benefits and when to use each, see a concise comparison at https://www.repbro.app/vs.
What quick checks should I do after each set?
- Were your shoulders packed for the whole walk? If not, reduce weight.
- Did your steps remain short and controlled? If you found yourself taking long strides, shorten them.
- Could you breathe rhythmically? If not, reduce load or distance.
Safety note: Stop on sharp pain; this article does not diagnose. Consult a qualified coach or medical professional for personalized guidance.
One-sentence takeaway: The farmer carry is a simple but demanding full‑body exercise—keep a neutral spine, packed shoulders, braced core, short steps, and progressive loading to get safer, steady improvements.
Frequently asked questions
- How heavy should my farmer carries be?
- Start with a load you can hold for 20–40 seconds or walk 20–40 m with good form—typically 10–25% of your bodyweight per hand for beginners. Progress by adding 5–10% per hand or by increasing distance/time.
- How many sets and reps are appropriate?
- Aim for 3–5 sets of 20–40 m or 20–40 seconds for general strength and conditioning, resting 60–120 seconds between sets. For grip-specific training you can do shorter walks with heavier loads or timed holds.
- Is it better to use dumbbells, kettlebells, or farmer handles?
- All work. Use hex/trap dumbbells or dedicated farmer handles for stability and higher loads; kettlebells are easier to load and safer for beginners because the handle is farther from your body. Match equipment to your goals and access.


