
The Most Common Copenhagen Plank Mistakes (and How to Fix Them)
Clear, evidence-aware guide to the most common Copenhagen plank mistakes: why they happen, what you lose or risk, and one concrete fix for each error.
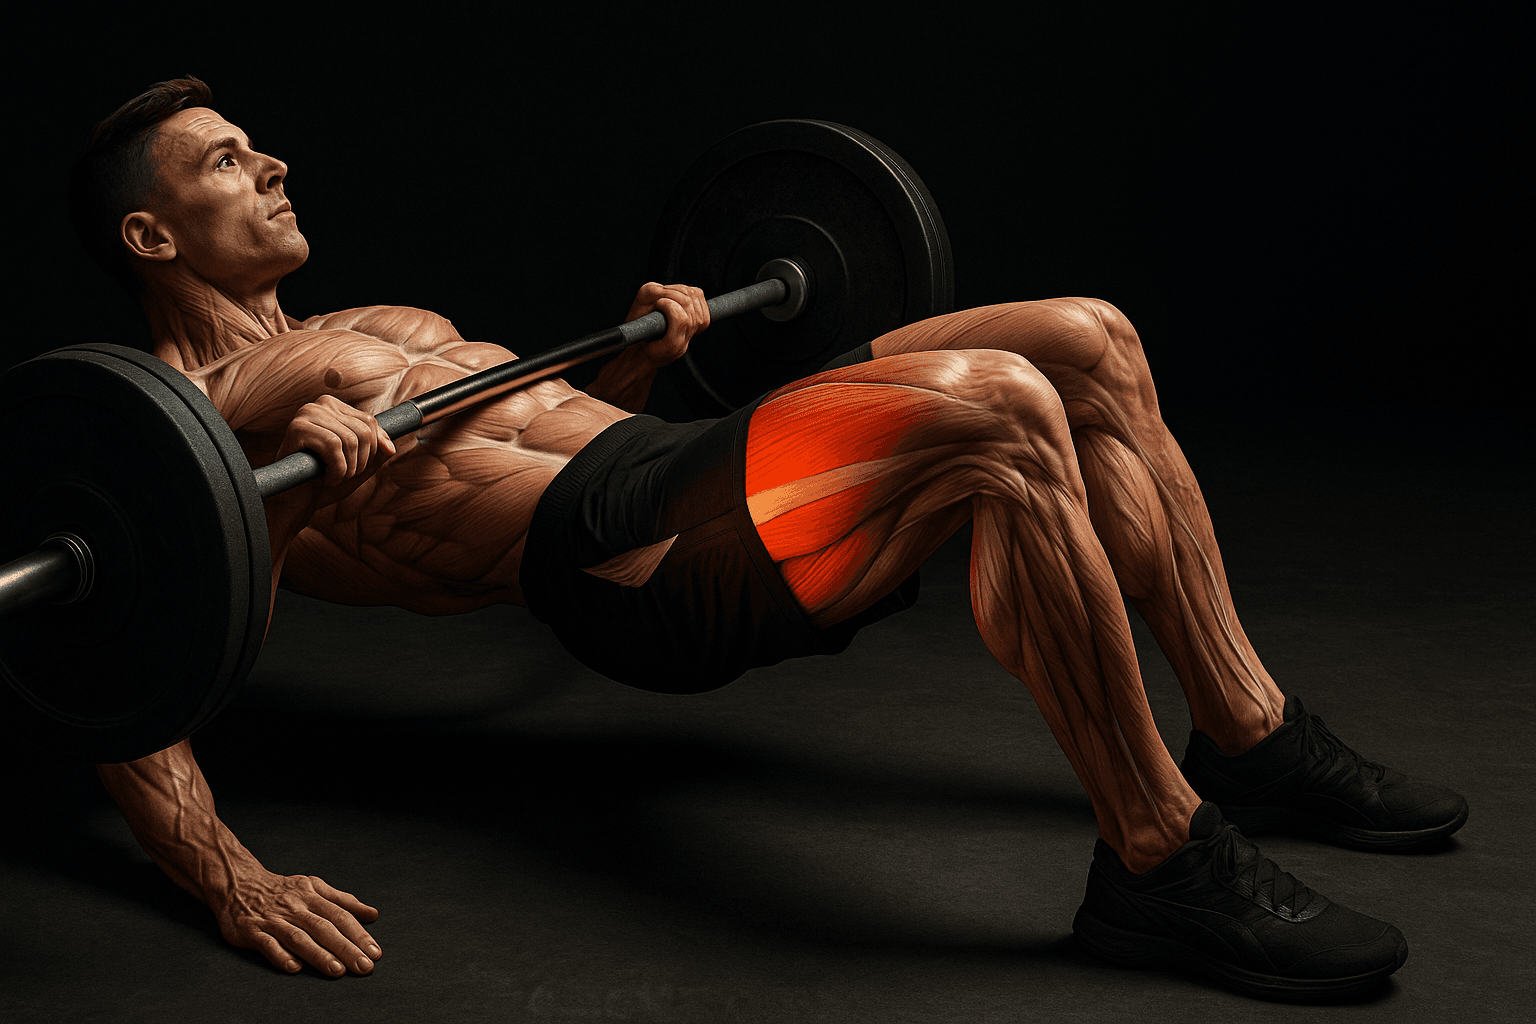
Photo by RepBro.
Direct answer (40–60 words): The common Copenhagen plank mistakes are hip sag, torso rotation, shoulder elevation, poor top-leg position, too-short lever or support, and breath/brace errors. Each reduces adductor loading or increases injury risk; the fixes are technique cues, regressions/progressions, and deliberate strengthening of weak links.
Why am I sagging at the hips during the Copenhagen plank?
Why it happens: Low-band tension in the adductor or lack of core and glute control lets the pelvis drop. Fatigue and trying to hold too long with poor strength causes the hip to sag. What it costs: Reduced adductor and lateral chain loading, less carryover to stability, and increased lumbar stress. One concrete fix: Raise the support height (bench/box) so your top knee is level with the edge and perform 3–5 sets of 8–20 second isometric holds with toes touching the support; cue an exaggerated glute squeeze and a neutral pelvis.
Why does my torso rotate or twist during the Copenhagen plank?
Why it happens: The non-working side’s obliques/adductors aren’t contributing enough, or the top leg pushes the belt of motion into rotation. Poor scapular or pelvic control also encourages twist. What it costs: Loss of targeted adductor stimulus, neck or low-back strain, and reduced transfer to single-leg stability. One concrete fix: Shorten the lever and add a light band around the hips pulling you toward the bench to force isometric co-contraction; practice 8–12 controlled reps per side focusing on keeping shoulders and hips square to the bench.
Why are my shoulders hunched or shrugged while I hold the Copenhagen plank?
Why it happens: People lean on the shoulder complex to relieve adductor load, or they lack scapular control and upper-body strength needed to keep the torso stable. What it costs: Increased neck and upper-trap tension, less time under tension for the adductors, and higher risk of shoulder irritation. One concrete fix: Before each hold, pull the shoulder blades down and back (scapular depression) and take a breath to set the ribcage; perform 3–4 sets of 10 scapular-depressed holds (5–10 seconds) to train the position.
Why is my top leg bent or slipping off the support?
Why it happens: Tight hips, poor awareness, or using an inappropriate support height makes maintaining a straight top leg difficult. Bending reduces the mechanical advantage for the adductors. What it costs: Less effective adductor load, inconsistent technique, and awkward compensatory patterns. One concrete fix: Place the top foot with the instep or inner ankle firmly on the bench and actively press into the support while keeping the top leg straight. If full leg straightness is hard, regress with knee-on-bench Copenhagen progressions until you maintain alignment for 8–12 quality reps.
Why do I shorten the lever and not get a full adductor challenge?
Why it happens: People instinctively reduce lever length because the full lever is demanding. This reduces torque on the adductors and limits strength development. What it costs: Slower progress and less carryover to sport-specific lateral stability or injury prevention goals. One concrete fix: Use a graded progression: knee-supported holds → foot-on-bench with toes lightly touching floor → full foot-on-bench. Add 5–10 cm (2–4 in) increments to bench height or use a band for assistance to bridge the gap.
Why am I holding my breath or cramping during Copenhagen holds?
Why it happens: Anxiety, maximal effort, and poor bracing strategies lead to Valsalva or breath-holding, which can spike intra-abdominal pressure and cause dizziness or cramping. What it costs: Reduced endurance in the hold, impaired stability sequencing, and greater perceived effort. One concrete fix: Use rhythmic breathing: inhale before setting the hold, exhale slowly while maintaining tension, and repeat 3–5 breaths per 10–20 second hold. If cramping persists, reduce duration and increase repetitions.
How do these mistakes compare at a glance?
| Mistake | What it costs | One concrete fix |
|---|---|---|
| Hip sag | Loss of adductor loading, lumbar stress | Raise support height; cue neutral pelvis and glute squeeze |
| Torso rotation | Less targeted stimulus, spine strain | Shorten lever; use light hip band to force square hips |
| Shoulder shrug | Neck/shoulder tension, poor stability | Scapular depression holds before reps |
| Bent/slipping top leg | Reduced mechanical load on adductors | Firm foot placement; regress to knee-supported variant |
| Short lever | Slower progress, less transfer | Progress through graded regressions; increase lever gradually |
| Breath/brace errors | Reduced endurance, cramping | Rhythmic breathing; shorten hold time if needed |
What programming or progression tips should I use with the Copenhagen plank?
Practice technique-focused sets 2–3 times per week within a balanced program. Start with regressions (knee-supported, band-assisted) and build to 2–4 hard sets per side where the last rep is challenging but controlled. Use isometric holds and eccentric-focused reps to develop both strength and control.
Safety note: Stop if you feel sharp, radiating, or worsening pain. This guide is not a diagnosis. Consult a qualified clinician for injuries or persistent pain before continuing.
What limitations does this article have?
No app or article can see your movement in real time or provide a clinical diagnosis. Automated cues can’t replace hands-on assessment by a qualified coach or healthcare professional, particularly for previous injuries or pain patterns. A plan only works if you do the work consistently; frequency, adherence, and progressive overload matter more than the single exercise choice.
Further reading: combine Copenhagen plank work with general hip-strengthening and single-leg loading for balanced development. If you want on-the-floor progressions and templated sets, consider using an evidence-aware coach app to track practice and progression.
References and evidence note: The cues and progressions here reflect consensus practice among strength and rehabilitation professionals and apply principles of progressive overload, motor learning, and risk management. They do not rely on any single study; consult primary literature or a clinician for condition-specific guidance.
Frequently asked questions
- Can the Copenhagen plank help my adductor strength and hip stability?
- Yes. The Copenhagen plank targets the adductor longus and gracilis isometrically while challenging lateral trunk stability. Use it as part of a balanced program that includes progressive overload, bilateral strength work, and movement practice; one exercise alone won’t fully develop hip health.
- How often should I practice the Copenhagen plank?
- Practice it two to three times per week in the context of a routine that includes recovery. Frequent, submaximal practice builds technical skill and conditioning; heavier, maximum-duration holds can be scheduled less often to manage fatigue and reduce injury risk.
- When should I stop using the Copenhagen plank because of pain?
- Stop immediately if you feel sharp, radiating, or worsening pain. Mild muscle soreness or temporary discomfort is normal, but any new joint pain, pins-and-needles, or pain that limits daily function warrants assessment by a qualified clinician before continuing.


