
Back Squat: Proper Form, Step by Step
Definitive, safety-first guide to back squat proper form: setup, execution cues, breathing, tempo, common mistakes and fixes. Stop on sharp pain.
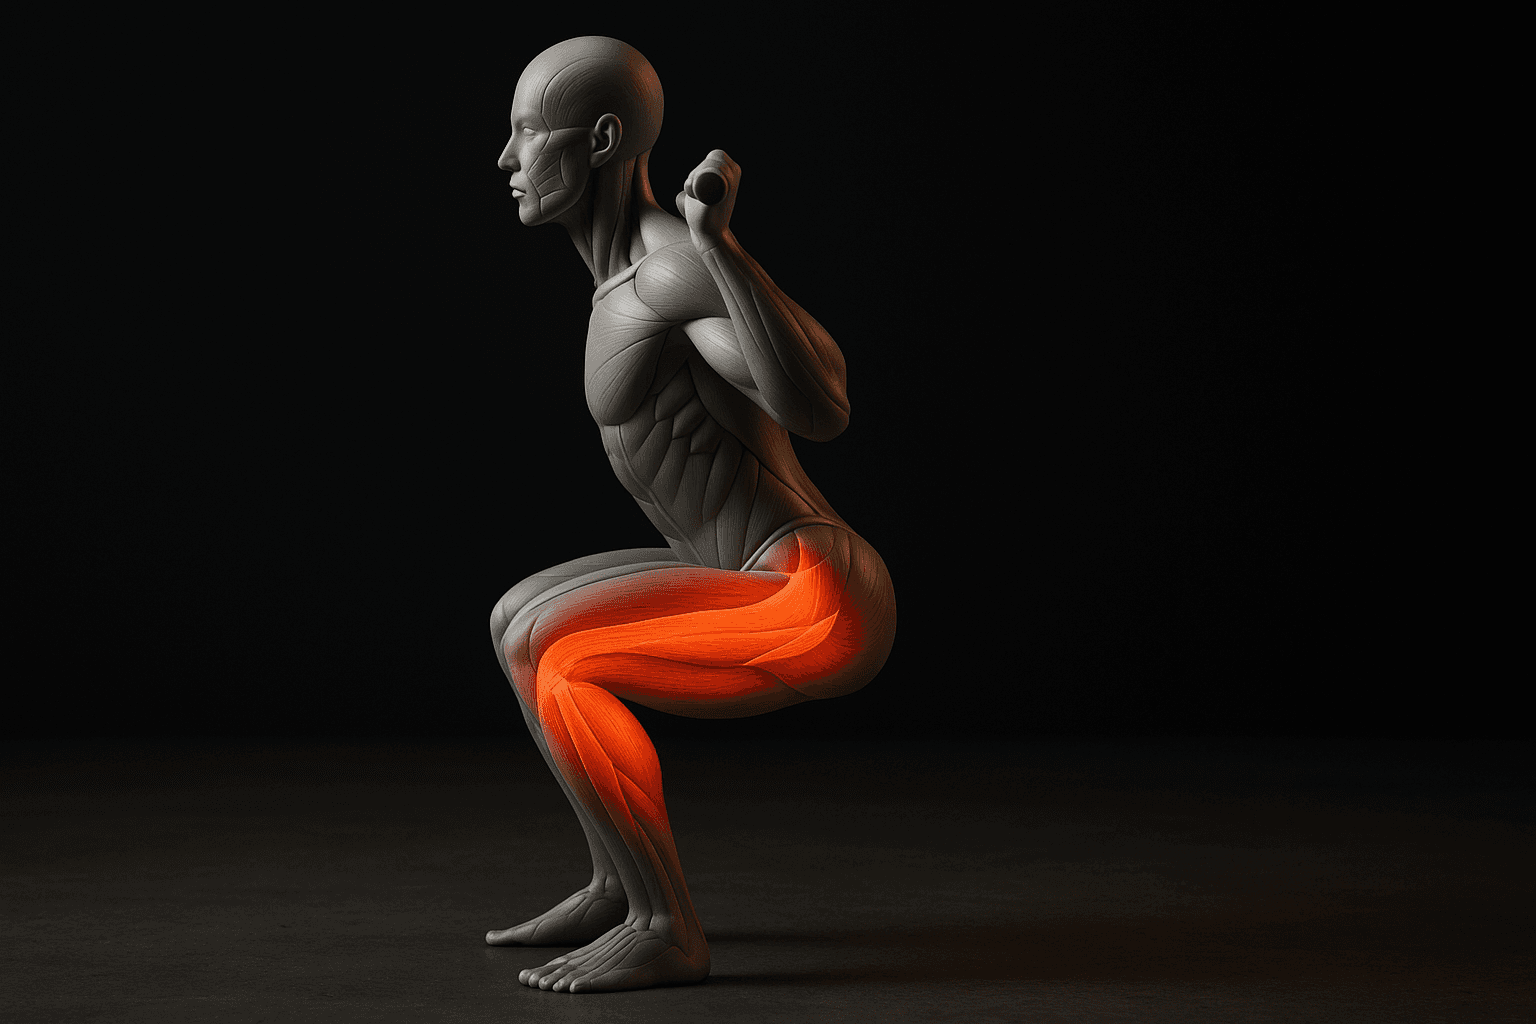
Photo by RepBro.
The short answer: back squat proper form starts with a stable bar position (high- or low-bar), a shoulder-width to slightly wider stance, a full breath and brace before descent, knees tracking toes, hip crease reaching at or below knee height, and a controlled descent with a powerful drive up while maintaining a neutral spine.
What is the correct setup for a back squat?
- Bar height: set the bar on a rack at about mid-chest level so you can unrack by lifting straight up without tiptoeing. Standard Olympic bar = 20 kg (44 lb).
- Bar placement: high-bar: rest the bar on top of the traps (just below the C7 vertebra); low-bar: place it on the rear deltoids across the spine of the scapula, about 2–4 cm lower. Pick one and be consistent.
- Grip: hands just outside shoulders for high-bar; wider grip for low-bar so your elbows can sit back. Keep wrists neutral, thumbs around the bar.
- Feet: 10–25 cm (4–10 in) outside hip width is a good starting range. For most people that’s roughly shoulder-width to slightly wider. Point toes 5–30° outward depending on hip anatomy.
- Stance check: toes, knees, and hips should be able to move together—if you can’t flare your knees out slightly, narrow or widen your stance a few cm until you can.
- Unrack: step under bar, chest up, take a deep breath and brace, stand up to unrack and step back 1–2 steps (or one smooth step each foot), settle your feet, and reset the brace before each rep.
How do I perform the back squat, step by step?
- Brace: take a full diaphragmatic breath (expand belly and lower ribs), tighten your core and lats as if expecting a punch. Hold this brace through the descent.
- Initiate the descent: sit the hips back and down together—think "hips to the box" rather than knees first. Control the descent for 2–4 seconds in most training.
- Knee tracking: let the knees track in the same direction as the toes; cue "push the knees out" to prevent collapsing inward.
- Depth: aim for hip crease at or below the top of the knee (below parallel). If mobility limits depth with a neutral spine, stop where control is lost and work mobility/tempo.
- Pause (optional): a 0–1 second pause at the bottom removes bounce and helps position. For technique work use 1–2 second paused reps.
- Ascent: drive the floor apart with your feet, initiating force through the heels/midfoot, extend hips and knees together, keep the chest up, and exhale a controlled breath at the top or through the sticking point. Finish standing tall but don’t overextend the lower back.
How should I breathe and what tempo should I use?
- Breathing: for working sets use the Valsalva-style brace (deep inhale into the belly and ribcage, hold the breath and brace through descent and the initial ascent). Exhale near or after passing the sticking point. For very heavy singles keeping the breath until lockout is common. Always avoid breath-holding that causes lightheadedness—re-rack if needed.
- Tempo examples:
- Technique/accents: 3–4 s descent, 1–2 s pause, explosive ascent.
- Strength (heavy sets): 1–3 s descent, no pause, controlled but explosive ascent.
- Hypertrophy: 2 s down, 0–1 s pause, 1 s up; 6–12 reps. Use a tempo that lets you maintain neutral spine and consistent depth.
What cues help maintain proper position?
- "Chest proud": keep sternum up to prevent excessive torso collapse.
- "Brace like you’ll be punched": full core tension.
- "Spread the floor": actively push your feet outward to engage hips and glutes.
- "Knees out": prevent knee valgus.
- "Hips and knees together": move them in sync for efficient force transfer.
- "Look neutral": pick a spot 1.5–3 m (5–10 ft) ahead at eye level; avoid hyperextension of the neck.
What are common mistakes and how do I fix them?
- Knees caving in (valgus): fix by pushing knees out, use a mini band just above knees for cueing and glute activation, reduce load and reinforce tempo squats.
- Excessive forward lean: often from weak upper back or poor ankle mobility—work lats (rows), goblet squats, and ankle dorsiflexion; try a slightly narrower stance or a higher bar position.
- Heels coming up: increase ankle dorsiflexion mobility, widen stance slightly, or use a small heel wedge (2–10 mm) temporarily; practice single-leg balance and controlled tempo squats.
- Rounding the lower back: brace harder, tighten lats by pulling the bar into your back, lower the load, and practice paused squats to build position strength.
- Shallow depth or bouncing at the bottom: use tempo eccentrics (3–4 s down), paused squats, and mobility drills (hip flexor, adductor, ankle mobility).
What should I do if something hurts?
Safety note: stop if you feel sharp or unusual pain. Consult a qualified strength coach or healthcare professional—this guide does not diagnose. If discomfort is localized (knee joint, hip, low back) reduce load, switch to bodyweight or goblet squats, and seek professional advice before returning to heavy loading.
If you track lifts, consider logging sets and technique notes in RepBro so you can measure progress and note what cues or changes helped.
Short FAQ
Q: Can beginners squat with a barbell? A: Yes, but start with an empty bar (20 kg / 44 lb) or a lighter training bar, practice bodyweight and goblet squats first, and learn bracing and depth before adding heavy weight.
Q: How often should I squat? A: 2–3 times per week is reasonable for most trainees, alternating intensity and volume across sessions.
Q: Is a belt necessary? A: Use a belt for heavy sets near maximal loads once you know how to brace; it’s not a substitute for poor technique.
One-sentence takeaway: Master squat setup—bar position, stance, and a strong breath-and-brace—then use controlled tempo and consistent cues to build safe, repeatable back squats.
Frequently asked questions
- How deep should I squat?
- Aim for hip crease below the top of the knee (below parallel). Full depth is useful if you have the mobility to keep a neutral spine; otherwise work toward that range with mobility and tempo reps.
- Should I use a high-bar or low-bar position?
- High-bar places the bar across the upper traps and favors a more upright torso; low-bar sits lower on the rear delts and shifts load to the hips. Choose the one that suits your mobility and goals; both can be technically correct.
- When should I stop squatting and see a professional?
- Stop and consult a healthcare or qualified strength coach if you experience sharp or persistent joint pain, new numbness, or pain that worsens with continued squatting.


