
Hack Squat: Proper Form, Step by Step
Step-by-step, evidence-aware guide to hack squat form: setup, execution cues, breathing, tempo, mistakes and safety. Practical, coachable advice for lifters.
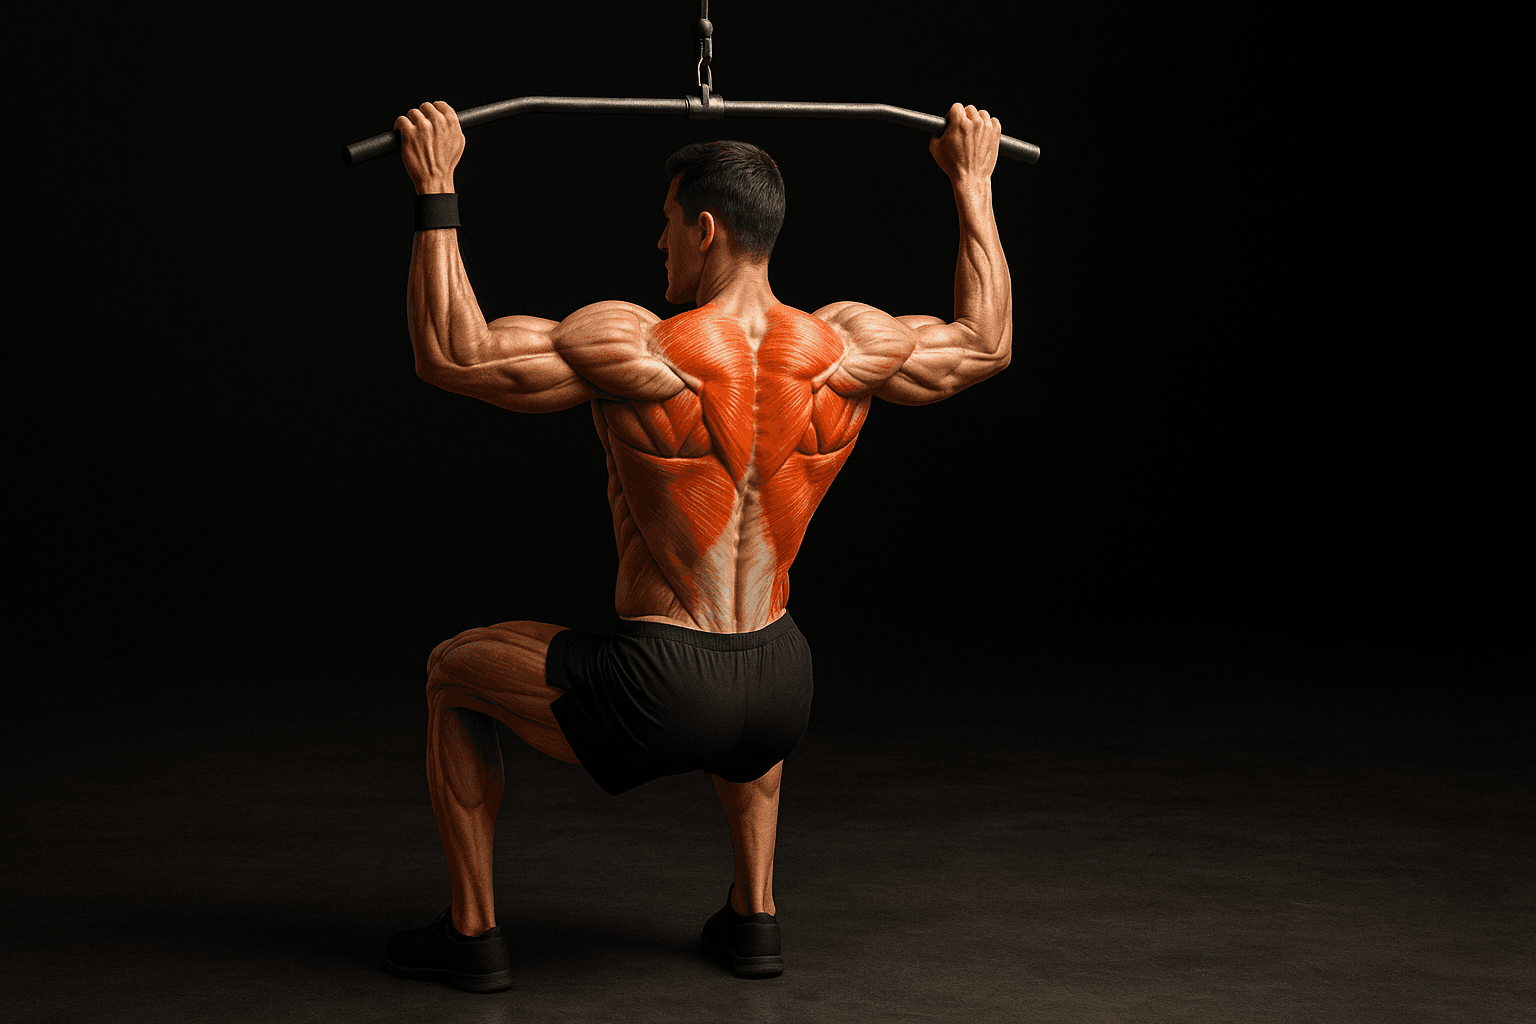
Photo by RepBro.
Direct answer
The hack squat trains the quads, glutes, and adductors with a guided bar path that reduces balance demands. Proper form means a solid foot position, upright torso, controlled descent, and knees tracking over toes. Breathe and tempo intentionally; stop on sharp pain and consult a professional for persistent issues.
What is the hack squat and who should use it?
The hack squat machine places the load behind your shoulders with a fixed track, which removes much of the balance and core demand of a barbell squat while emphasizing knee extension. It is useful when you want heavy quad stimulus, reduced low-back shear compared with some free-weight variants, or a machine-based alternative during accessory days. People with stable knees and no acute joint pain will typically benefit; avoid it if a machine’s footplate or backpad causes discomfort.
How do I set up the hack squat machine properly?
- Adjust the shoulder pads/backrest so the top pad sits on your upper traps or shoulders—not on your neck. Your hips should have room to move straight down the track.
- Place feet shoulder-width or slightly narrower on the footplate with toes pointed slightly out (10–20 degrees). If you want more quad emphasis, move feet lower on the plate; for more posterior chain emphasis, place feet higher.
- Unrack by straightening the knees and unlocking the safety catches. Keep hips braced as you begin the descent.
Concrete setup checklist:
- Shoulder pad height: pad on upper traps, comfortable scapular contact.
- Foot position: roughly shoulder-width; move 2–5 cm (1–2 in) for biasing quads vs glutes.
- Neutral spine: chest up, ribcage down, eyes forward.
What are the step-by-step execution cues?
- Unrack with hips and knees extended, feet planted.
- Inhale and brace your core as you begin the descent by simultaneously bending hips and knees—think "sit back and down" but maintain an upright torso relative to the machine.
- Keep knees tracking in the same direction as your toes; avoid letting them cave inward.
- Descend to a depth where your thighs are at or slightly below parallel, only as far as you can without lumbar rounding or knee pain.
- Exhale and drive through the whole foot (slightly more emphasis on heels and midfoot) to extend the knees and hips to the start position.
- Lock the safety when finished.
Execution cues: "brace, knees over toes, chest up, controlled descent, drive through heels." Use a deliberate tempo to maintain control.
How should I breathe and control tempo?
Breathing: Take a full diaphragmatic inhale and brace before the descent; hold the brace through the eccentric and start of the concentric. Exhale during the concentric or at the top after completing the rep. Avoid prolonged Valsalva unless you understand the cardiovascular effects.
Tempo guidance (general):
- Eccentric (lowering): 2–4 seconds, controlled.
- Pause at bottom: 0–1 second, only if you can maintain tension.
- Concentric (rising): 1–2 seconds, controlled but forceful.
Slower eccentrics increase time under tension and control; faster concentrics emphasize power. Match tempo to your training goal.
What common mistakes do lifters make and how do I fix them?
- Knees collapsing inward (valgus): Fix by strengthening hip abductors, cue "push knees out" or place a band above knees for proprioceptive feedback, and reduce load until form improves.
- Heels rising off the plate: Fix by moving feet slightly forward or reducing load; consciously drive through heels and midfoot.
- Rounding the lower back at depth: Fix by limiting depth, improving hamstring and hip mobility, and keeping a strong brace; strengthen core with anti-extension work.
- Excessive forward lean or shifting weight onto toes: Fix with foot placement adjustment (move feet lower for more quad focus, higher for more hip drive) and cueing "chest up."
- Bouncing out of the bottom (using the machine’s stop to cheat): Fix by slowing the eccentric and using a short pause at the bottom to build strength through the full ROM.
How does the hack squat compare to back squat and leg press?
| Feature | Hack Squat | Back Squat | Leg Press |
|---|---|---|---|
| Balance demand | Low | High | Low |
| Trunk/core demand | Moderate | High | Low |
| Quad emphasis | High | Moderate | High to moderate (varies with foot placement) |
| Spinal load | Lower than heavy barbell variations | Higher when heavy | Lower |
| Carryover to athletic movements | Moderate | High | Low |
Use the hack squat as a targeted quad builder or a heavier-loading option when you want to reduce spinal loading and balance requirements.
When should I avoid or modify the hack squat? (Safety note)
Stop the set and consult a qualified professional if you feel sharp pain, catching, or numbness. Modify or avoid the hack squat if a machine’s geometry forces an uncomfortable hip or knee angle, or if pre-existing joint issues worsen. This article does not diagnose; seek an in-person assessment for persistent pain.
How should I program the hack squat into a plan?
For hypertrophy, include it as a primary or secondary movement with moderate loads and moderate reps depending on your overall weekly leg volume. Adjust frequency based on recovery: many lifters use the hack squat once or twice per week as part of a balanced lower-body routine. Track performance and reduce volume if technique breaks down or fatigue accumulates.
What are the limitations of apps and AI for coaching?
Apps and AI can provide cues, diagrams, and progress tracking, but they cannot see subtle joint angles, feel tension, or diagnose tissue irritations in person. They cannot replace hands-on coaching, manual mobility work, or clinical assessment. A plan only works if you execute it consistently and adapt based on how you recover.
Limitations summary:
- No app can reliably correct fine-grained form problems from a single video.
- Persistent pain, unusual joint sounds, or mobility restrictions need an in-person assessment from a qualified professional.
- Consistency, sleep, nutrition and progressive overload determine results more than app choice.
Safety reminder: stop if you experience sharp pain, consult a qualified professional for persistent or unusual symptoms, and do not rely on this article for medical diagnosis or rehabilitation programming.
Short FAQ
Q: Can I use a belt for hack squats? A: A lifting belt is optional. For most machine-based sets a belt is unnecessary; use it only for very heavy working sets if you understand how to brace with a belt.
Q: Should my knees go past my toes? A: Knee travel past toes is not inherently dangerous if you have control and no pain; focus on tracking, load management, and comfort rather than an arbitrary cutoff.
Q: Are single-leg hack squats useful? A: Single-leg or split variations can correct side-to-side imbalances and increase joint-specific strength, but they require lighter absolute loads and more balance.
If you want objective tracking and programming tools to help structure leg training, consider proven coaching features available in modern apps, but pair them with occasional in-person feedback for form checks.
Frequently asked questions
- Is the hack squat better than a back squat for quad growth?
- The hack squat emphasizes a more vertical torso and greater knee travel, increasing quadriceps loading relative to a back squat. It can be an effective quad-focused variation, but neither exercise is universally superior—use both strategically according to your goals, mobility, and loading tolerance.
- How deep should I go on the hack squat?
- Depth should be as low as you can go while keeping a neutral spine, knees tracking over toes, and no painful pinching. For many lifters that means thighs at or slightly below parallel; avoid forced depth if it causes lumbar rounding or knee pain.
- How often should I program hack squats?
- Frequency depends on overall program and recovery. For hypertrophy, 1–3 sessions per week is common when distributing volume across exercises. Match intensity and volume to your broader plan and reduce frequency during higher-intensity strength phases or when fatigue accumulates.


