
Dip: Proper Form, Step by Step
Definitive dip form guide: step-by-step setup, exact cues for chest, elbows and shoulders, breathing and tempo, common mistakes with fixes—safety-first.
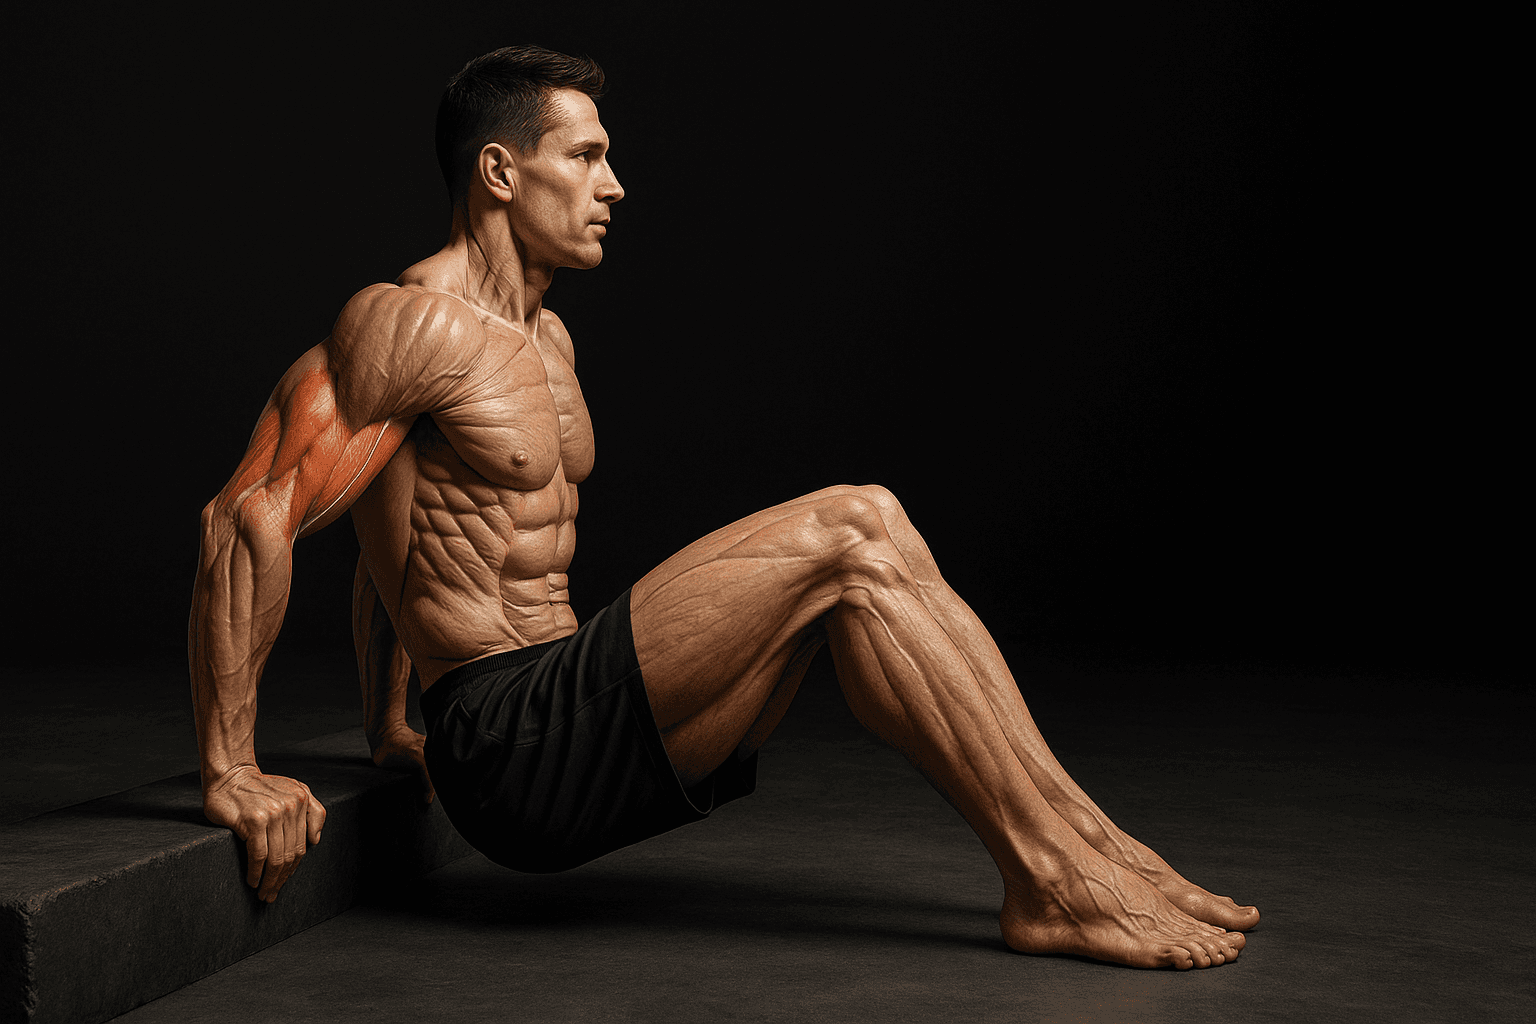
Photo by RepBro.
What exactly is proper form for a dip?
Proper dip form keeps the shoulders stable, the chest slightly forward, and the elbows controlled. Descend until your upper arms are about parallel to the floor (roughly a 90° elbow bend), inhale on the way down, then press back up while exhaling. Avoid excessive depth that causes shoulder strain and stop immediately on sharp pain.
How do I set up for a dip step by step?
- Choose the right equipment: parallel bars, dip station, or gymnastic rings. Bars are standard; rings add instability.
- Hand placement: grip the bars roughly shoulder-width apart or very slightly wider. Grip should be neutral (palms inward) with a firm hold.
- Body position: jump or step up so your arms are straight, shoulders packed down and back, chest up, and legs either bent behind you or straight down depending on comfort.
- Shoulder pre-tension: actively depress and retract the shoulder blades by imagining trying to put your shoulder blades into your back pockets. This reduces unwanted shrugging when you descend.
- Foot position: tuck knees back for compactness or let legs hang straight if space allows; crossing ankles is fine. Keep lower body stable and avoid excessive swinging.
How should the dip move feel during execution?
- Start: lock out the elbows with the shoulder blades packed. Keep a slight forward lean in the torso to distribute load to the chest if that is your goal.
- Descent tempo: lower yourself under control for 2–3 seconds. Do not drop or let momentum take you down.
- Depth cue: stop when your upper arms are about parallel to the floor, or earlier if your shoulders feel uncomfortable. If you can go deeper without pain, you may add a few degrees of range, but prioritize shoulder comfort over extra range.
- Bottom position: hold tension. Avoid completely relaxing into the joint. A 0–1 second pause is fine.
- Ascent tempo: press back up in 1 second, squeezing the chest and triceps. Lock out at the top without hyperextending the elbows.
- Breathing: inhale descending, exhale ascending. This keeps intra-abdominal pressure stable and helps rhythm.
What tempo should I use for sets?
Use 2–3 seconds down, 0–1 second pause, and 1 second up as a default. For strength focus, use a slightly slower descent (3 seconds) and an explosive but controlled ascent. For hypertrophy, aim for 2 seconds down, 1 second up, and 0–1 second pause with 6–12 repetitions.
What are the key cues to feel a correct dip?
- Shoulders packed, not shrugged.
- Chest forward and proud, not collapsed.
- Elbows tracking back about 45 degrees from the torso, not flaring wide.
- Controlled descent; you should feel tension through the pecs and triceps, not sharp joint pain.
- Clean lockout at the top with shoulders stable.
What common mistakes cause problems and how do I fix them?
-
Mistake: Shrugged shoulders at the top. Fix: Pre-tension shoulders before each rep by thinking "down and back"; reduce weight or use assisted variations until packed position is consistent.
-
Mistake: Elbows flaring wide. Fix: Pull elbows slightly toward the body (about 30–45°) so they track behind the plane of the shoulder; check grip width and aim for shoulder-width to slightly wider.
-
Mistake: Going too deep and feeling shoulder pinching. Fix: Limit depth to upper-arms-parallel. Strengthen scapular stability and mobility before increasing range.
-
Mistake: Kicking or swinging the legs. Fix: Shorten range of motion in the hips, tuck knees or cross ankles, slow the tempo, and consciously brace your core.
-
Mistake: No lockout at the top or collapsing at the shoulders. Fix: Make the top a deliberate finish: press until elbows are straight and shoulders remain down; perform fewer reps with better form.
-
Mistake: Using momentum to ascend. Fix: Slow the descent and make the ascent controlled; pause at the bottom if needed to eliminate bounce.
How do I progress or regress dips safely?
- Regress: Use an assisted dip machine, resistance band looped under your knees/feet, or do bench dips with feet on floor as a temporary step (note bench dips place more horizontal stress on shoulders; use cautiously).
- Progress: Add 2.5–5 kg increments with a weight belt or vest once you can do sets of 8–12 strict reps. Alternate with tempo variations (3s down, 1s pause, 1s up) to build control before adding load.
- For variety or rehabilitation: try ring dips later once shoulder stability and strength are solid.
What about comparison: dip vs push-up or bench press?
Dips are a vertical pressing movement with a larger demand on shoulder stability and an upright torso lean that emphasizes lower pec and triceps. For a direct comparison to push-ups or bench press, see the related comparison guide at https://www.repbro.app/vs.
Safety note
Stop any set immediately if you feel sharp, pinching, or radiating pain in the shoulder, elbow, or neck. If joint pain persists, consult a qualified healthcare or movement professional for an assessment—this guide is not a diagnosis. Want to track progress and structured programming for dips? Check out RepBro.
Short FAQ
Q: Can dips cause shoulder injury? A: Dips can aggravate a preexisting shoulder condition, especially with excessive depth or poor scapular control. Use limited range, regress, and seek professional advice if in doubt.
Q: How many dips should I do? A: For beginners, 3 sets of 5–8 strict reps with regressions is safe. Intermediate trainees can aim for 3–5 sets of 6–12 reps depending on goals.
Q: Should I do dips before or after pressing exercises? A: Place dips after compound pressing (bench or overhead) if you need fresh maximal strength for those lifts, or before if dips are the priority for your session.
One-sentence takeaway: Perform dips with packed shoulders, a controlled 2–3s descent to about 90° elbow bend, inhale down, exhale up, and stop if you feel sharp pain.
Frequently asked questions
- How deep should I go in a dip?
- Descend until your upper arms are roughly parallel to the floor (about a 90° elbow bend). Stop if you feel sharp or pinching pain in your shoulders.
- Should I lean forward or stay upright?
- Lean your torso forward about 15–30 degrees to shift load to the chest; stay more upright to target triceps. Keep the lean controlled and avoid excessive forward collapse.
- How do I breathe during dips?
- Inhale on the descent and exhale as you press back up. Keep breathing regular and avoid holding your breath on sets lasting longer than 5–10 seconds.


